Project Summary
This has, by far, been the most popular piece of furniture I've built. If you're looking to build something you can sell, this is it. Or, if you prefer, enjoy this simple rustic Pallet Coffee Table in your own home. It's sure to turn heads.
Level of Difficulty
Materials Required
- Pallet Wood
- 8ft 4x4
- 1/8" Drill Bit
- 1 5/8" and 2" Wood Screws
- 180 Grit Sandpaper
- Stain
Time to Complete
Tools Required
- Drill
- Orbital Sander
- Circular Saw
- Tape Measure
- Clamps
VIEW FULL CUT LIST
1. Cut Your 4x4 To Length
We use a 4x4 board to make the legs of our coffee table. While you can customize the length of your legs to accommodate whatever room you are using it in, the standard height is about 18 - 20 inches.
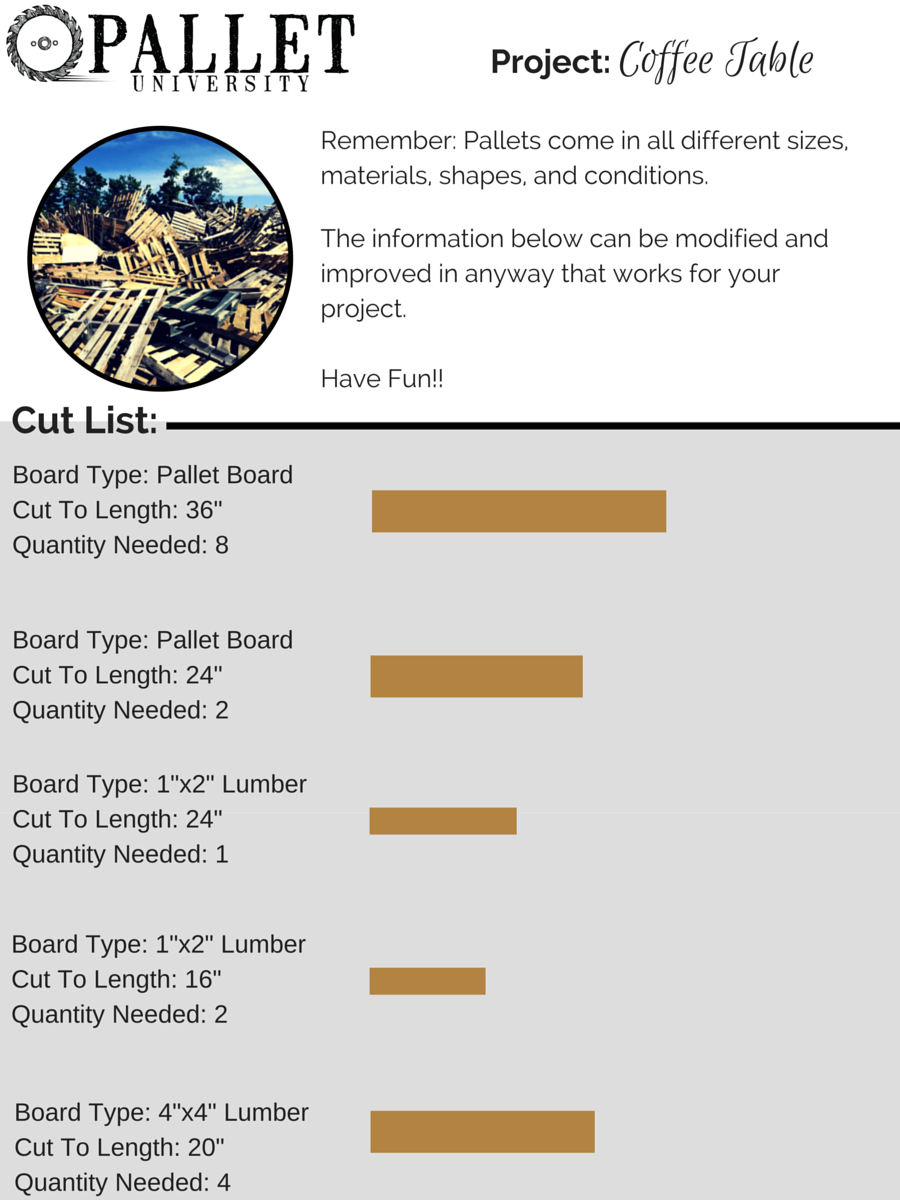
So start by cutting 4, 20 inch sections of your 4x4. (You can also cut it to 18 inches instead if you want a little shorter table)
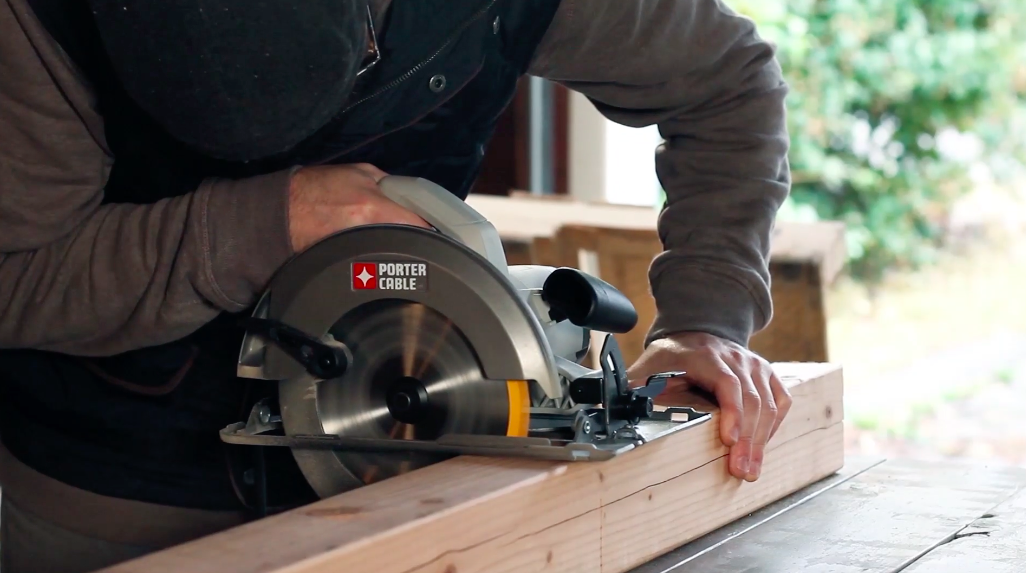
I was using a standard circular saw, so I lined up my cuts and marked them with a pencil since I need to turn my board to cut all the way through my 4x4.
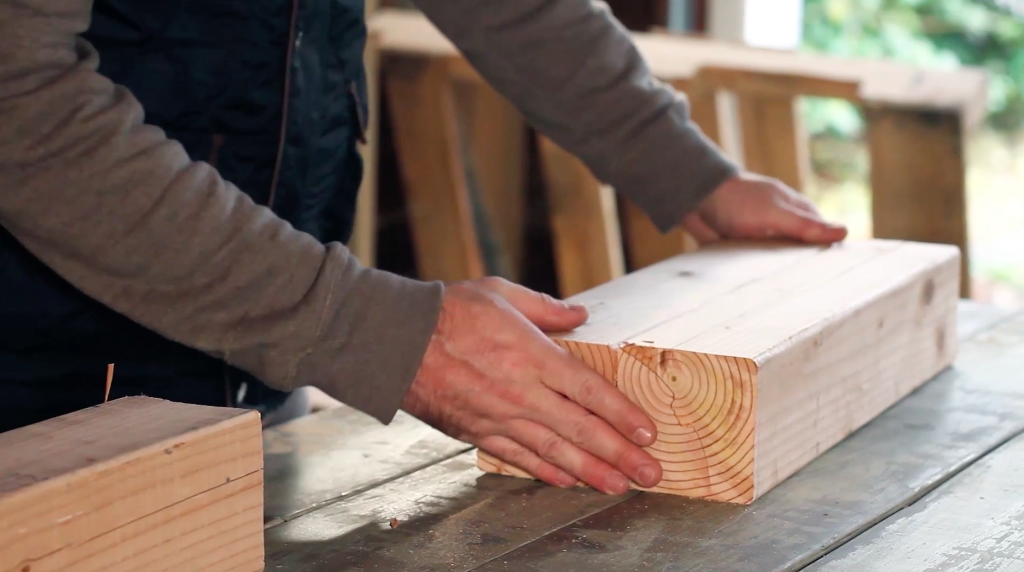
You'll want to double check your 4 legs after you cut, just to make sure they are as close to the exact same length as possible. If not, you may get a little wobble with your table.
If you do have slight inequality in your boards, just grab your circular saw and shave a little bit off the end as needed until all 4 legs are virtually identical.
2. Cut Your First 4 Pallet Boards
The table is going to be about 24 inches wide and 36 inches long. 36 inches should be about the full length of a pallet board, so you may not need to make a cut for those.
However, you need to start with 4 pallet boards - 2 should be 24 inches long and 2 should be 36 inches long.
Take your circular saw and cut as needed so you have these 4 boards, which will serve as the outer frame of our coffee table.
3. Sand All Boards
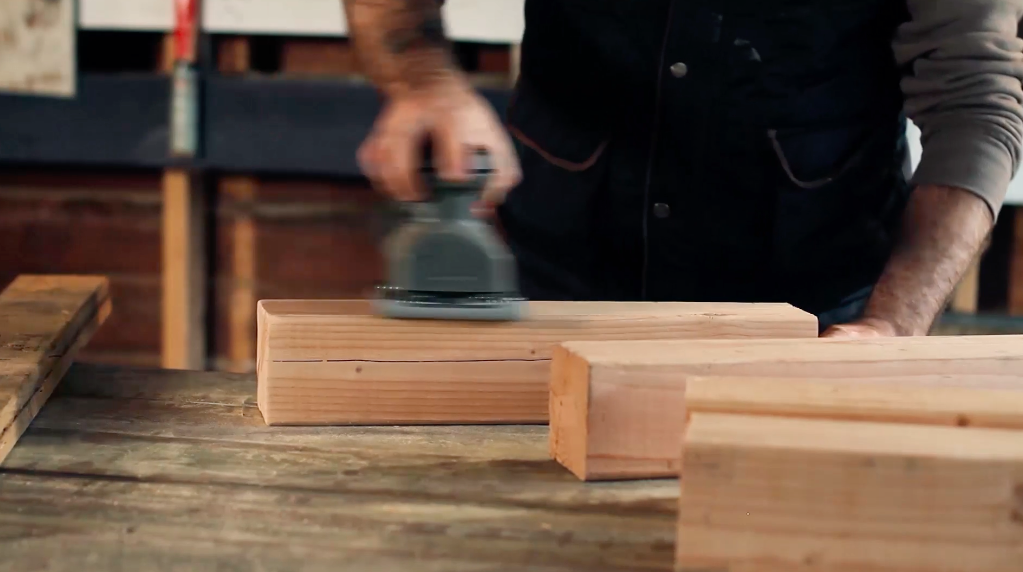
Next, take your palm sander and sand all sides of both your legs, and the pallet boards you plan to use. This will be a table, so you want to take care of any rough spots and make a smooth surface.
4. Attach Pallet Boards to Frame Your Table
Next, you are going to attach your first 4 pallet boards which serve as the outer frame of the table. You should have already cut your boards to the appropriate length in step 2.
These are actually going to be screwed into the outside of your legs. So after this step, you'll have a standing frame of a coffee table because we are connecting all 4 legs with our pallet boards.
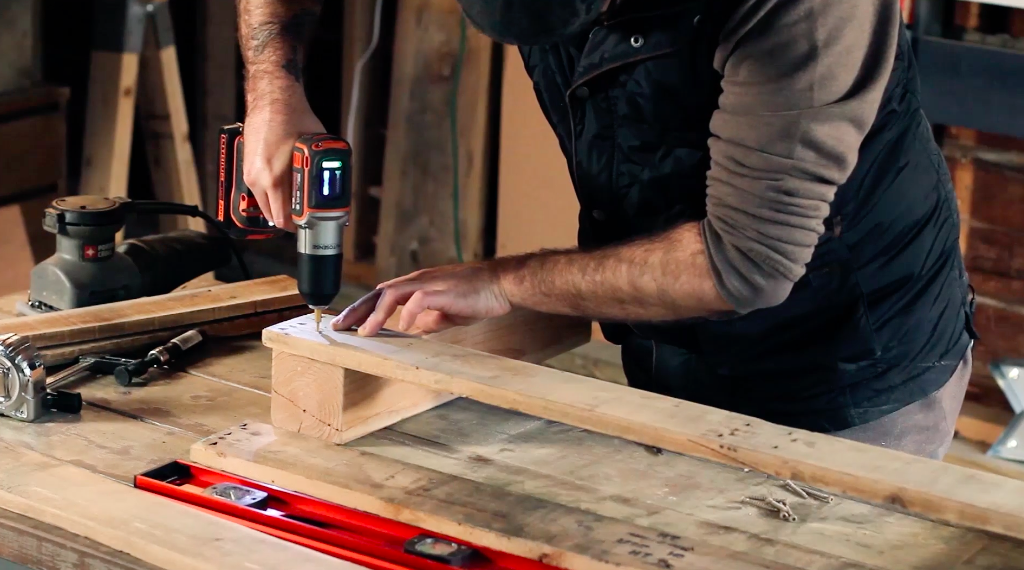
As you are screwing in the outer frame, grab a level and make sure you've got all 4 outer pieces level before screwing it in. Once you do have the piece level, use 2 wood screws on each end to make sure your board is completely secured to the leg.
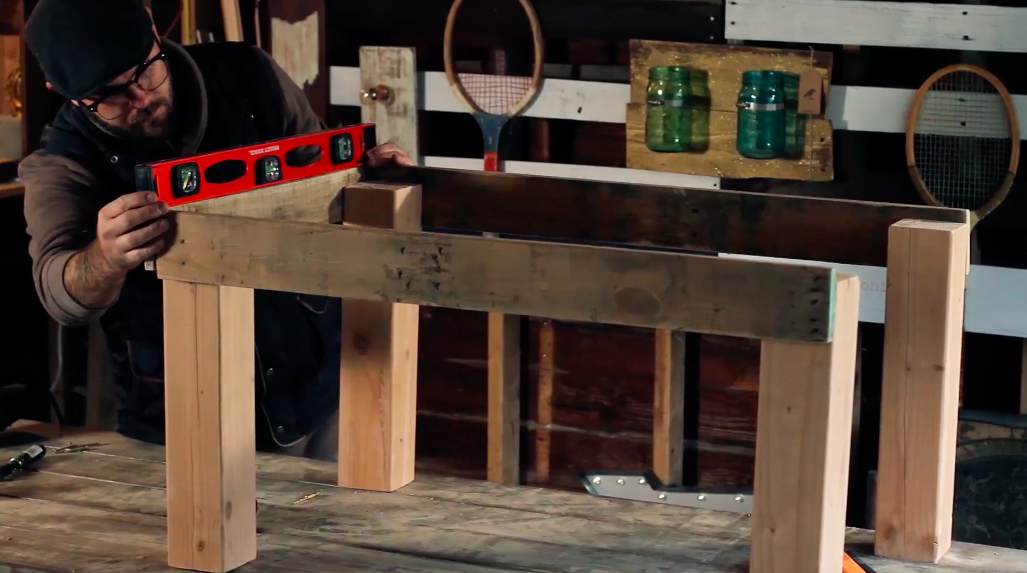
Important Tip:
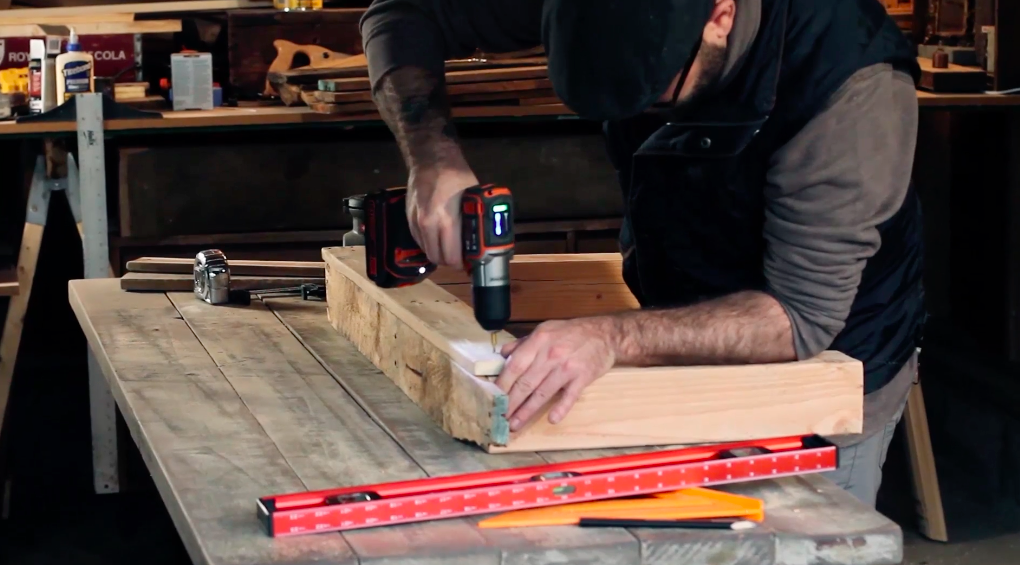
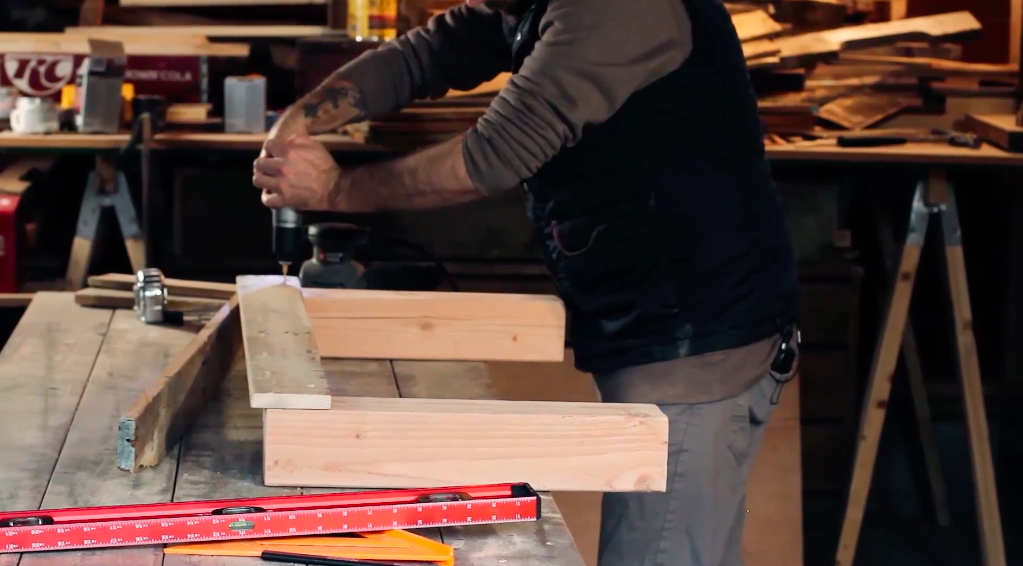
When attaching your pallet boards to the legs, notice in the pictures above and below that you'll want your pallet board to be a little higher than the top of your table leg. The reason is so when you add the boards for the top of the table, everything is nice and flush.
An easy way to do this is by holding a pallet board on the table top (shown below) so you know exactly how much overlap you need.
5. Bracing For Table Top
Next, you want to make sure your coffee table can hold a decent amount of weight - so let's add a 1x2 brace to the center of the table, and two 1x2's one each end (between the legs).
It's important that your brace is the same height as the top of your table legs, so the table top is actually touching it and supported by it.
You'll cut the center 1x2 board to approximately 24 inches in length and the side 1x2's to approximately 16 inches. Next, lay a pallet board from the top of one table leg to the other. This will allow you to take your pencil and make a mark right underneath that pallet board - which lets you know exactly how high your brace will be.
(In the picture below I cheated and just make my mark using the 1x2, but laying a pallet board on top of your table legs would get a more precise mark)
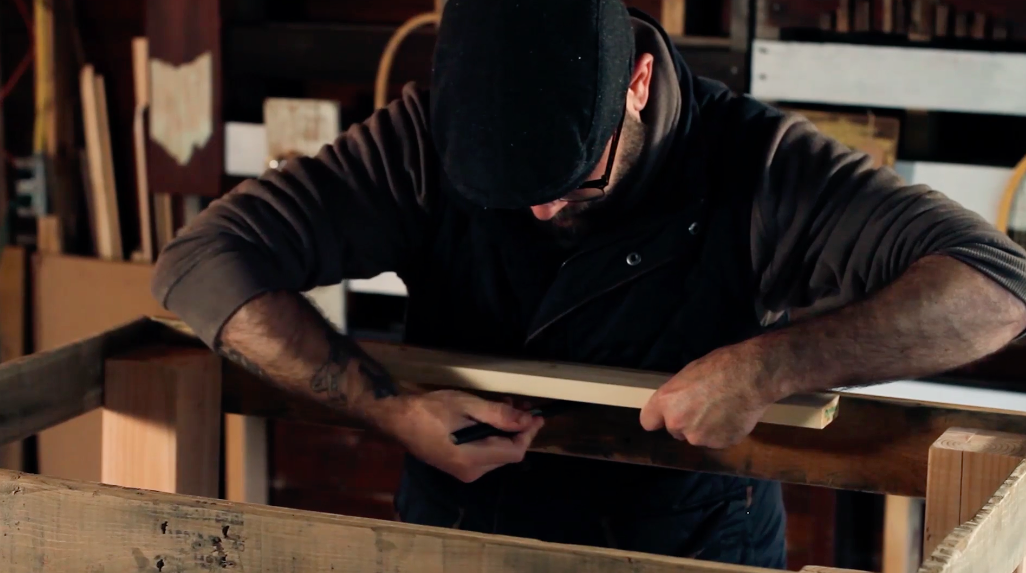
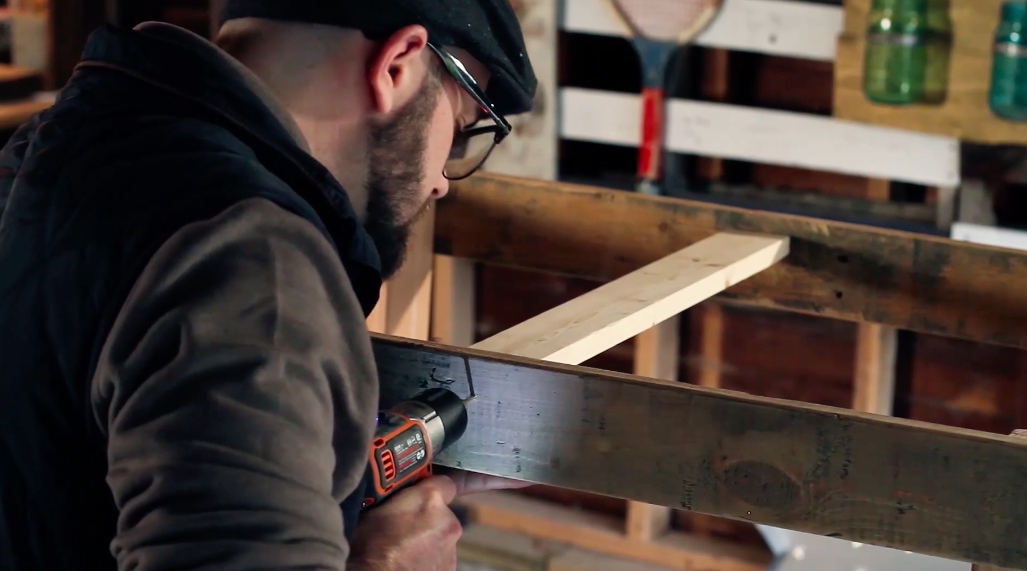
Next put your center 1x2 in place, with the top of the 1x2 right on the line you just marked for the height. You'll want to drill pilot holes (2 on each side) before ultimately screwing into your brace from the outside of your table frame using your wood screws. Repeat this same process for the side braces, attaching them between the two legs on each end.
6. Cut Pallet Boards For Table Top
Next, we're going to cut our pallet boards which will serve as the top of our table. We're going to run our boards in the longer, 36 inch direction so our support beam will be supporting the very center of our table top boards.
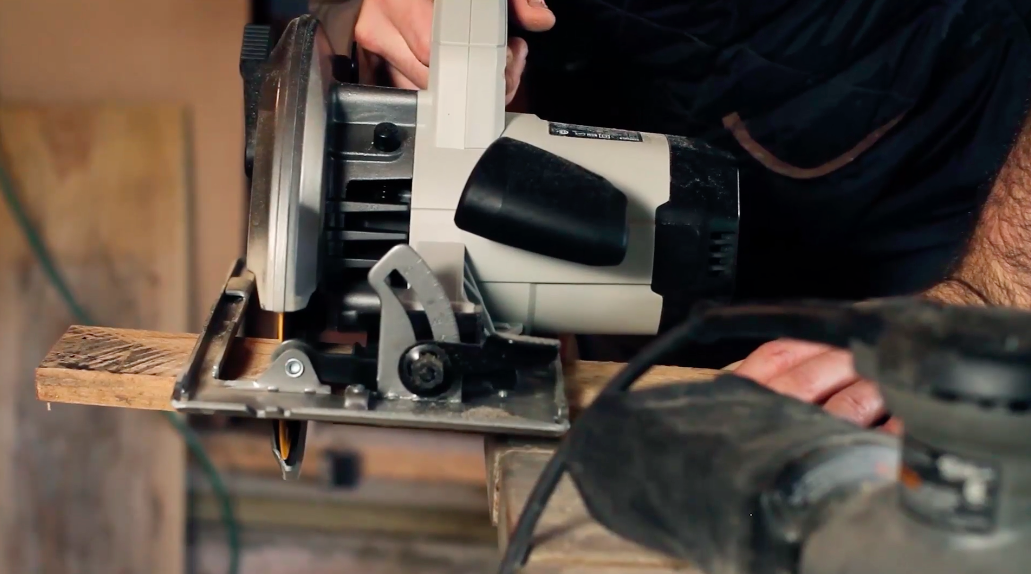
The cool thing about working with pallet boards is that the widths are often irregular, which gives your furniture a unique look. As you cut your boards to 36 inches, start laying them into place as shown below (don't screw them in just yet)
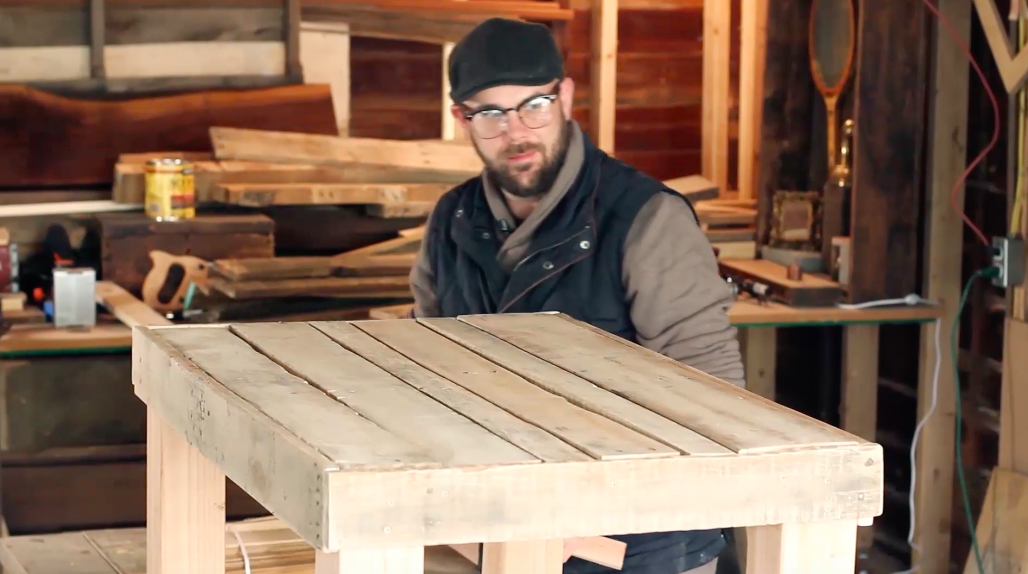
In my case, it took 6 boards to cover the entire area of my table top. You'll notice that I used some thinner pieces, so if you use all wider planks from your pallet, it might only take 5 to cover your table.
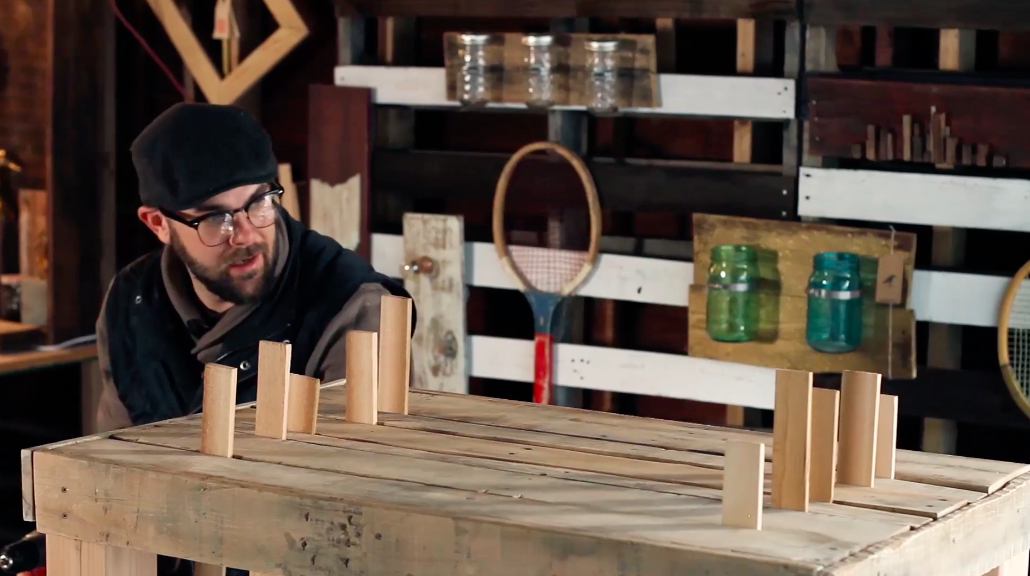
7. Use Spacers To Evenly Distribute Boards
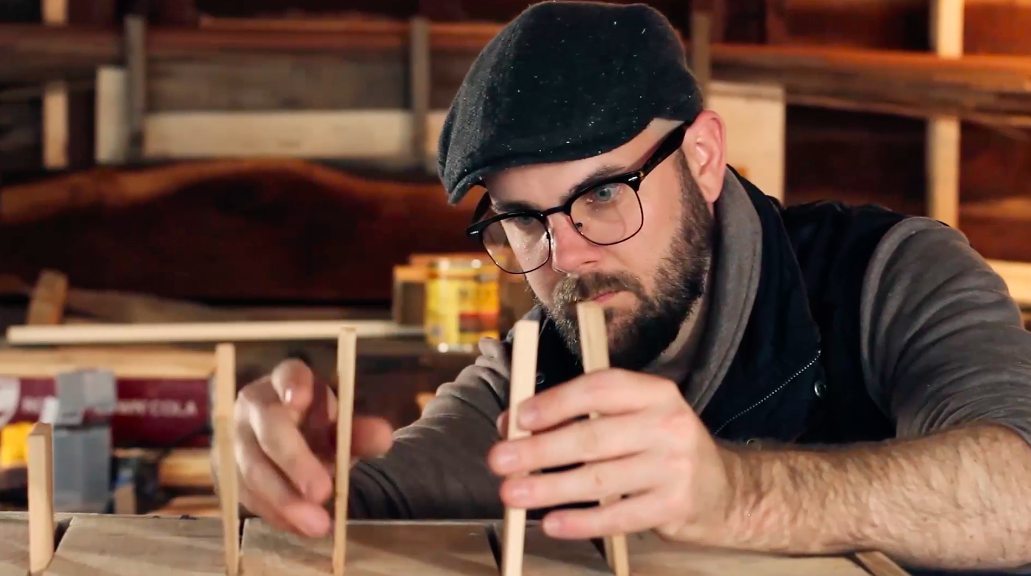
Even though your board sizes will probably be irregular, it's still a good move to use shims to make sure the gap between each board is about the same. You don't want to have 2 boards with no gap at all and then and 1 inch gap between 2 other boards...
So cut shims that are about 1/4 - 1/2 an inch wide and set them in between each board as a spacer so you can maintain those gaps as you secure your boards down. Ideally, you should have a shim in each gap and on both ends of your table as shown below.
8. Secure Your Table Top Boards
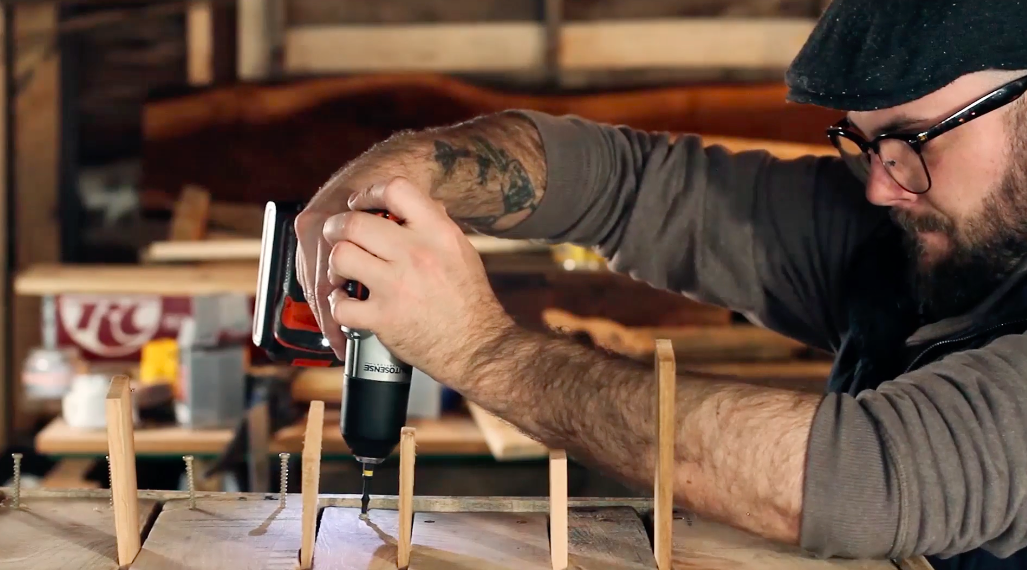
Now that your spacers are in place, it's time to use screws to secure your table top into place. I had a couple of thin boards where I only needed one screw, but in most cases you want to use 2 screws per board to secure them down.
As usual, pre-drill your holes by first using a drill bit to pave the way.
9. Stain Your Table
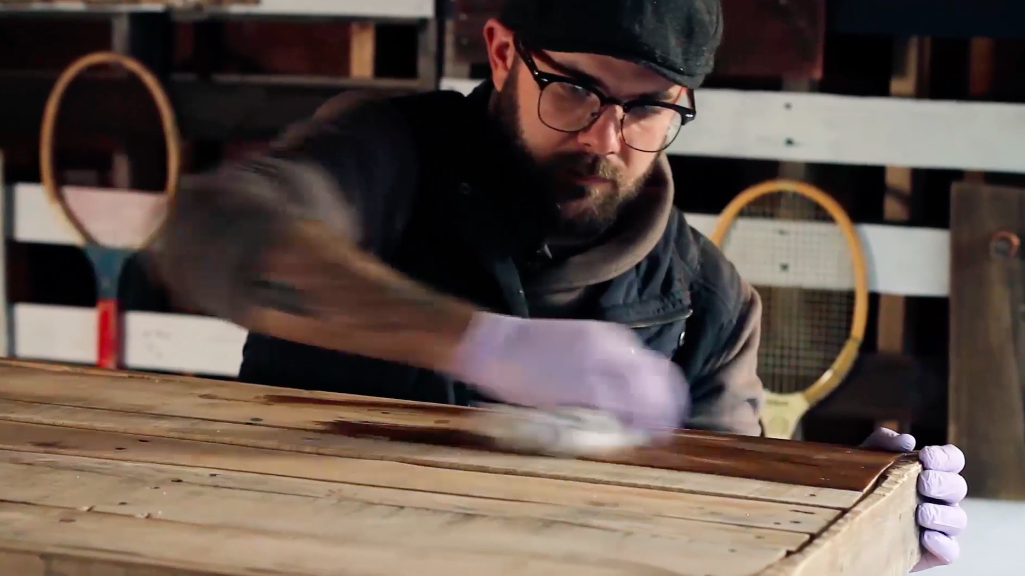
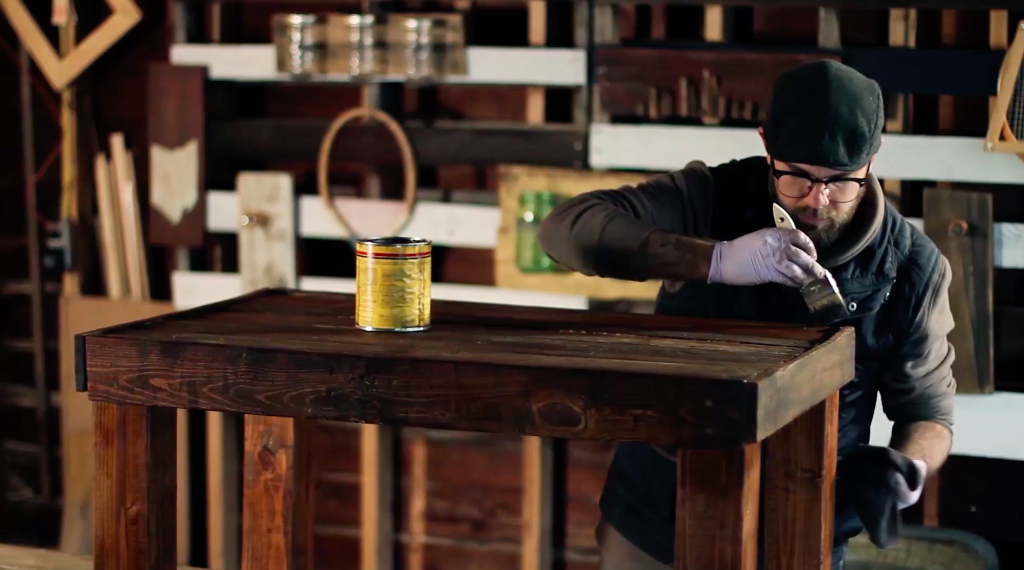
Stain color is another opportunity to customize the look of your project. I used the Early American stain from Minwax and really like the classic look it gives. I added stain by using a rag, as well as a paint brush later in the process for a finishing touch.
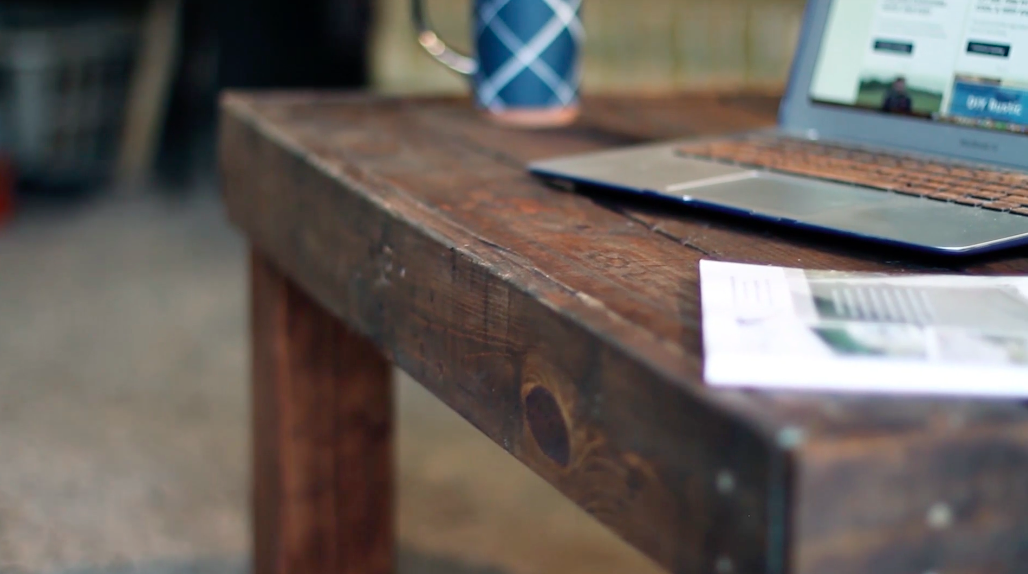
Once you've stained it and let it dry, put this beauty to use!
