Project Summary
The Pallet Bench project will leave you feeling quite accomplished. Not only is it something functional, but will be a great decorative addition to your home. This is the perfect project for someone who wants to create something cool within only a few hours.
Level of Difficulty
Materials Required
- Pallet Wood
- 1 - 2 x 4
- 1 5/8" & 2" Screws
- Wood Stain
- Drill Bit
Time to Complete
Tools Required
- Drill
- Clamps
- Orbital Sander
- Circular Saw
- Tape Measure
- Straight Edge
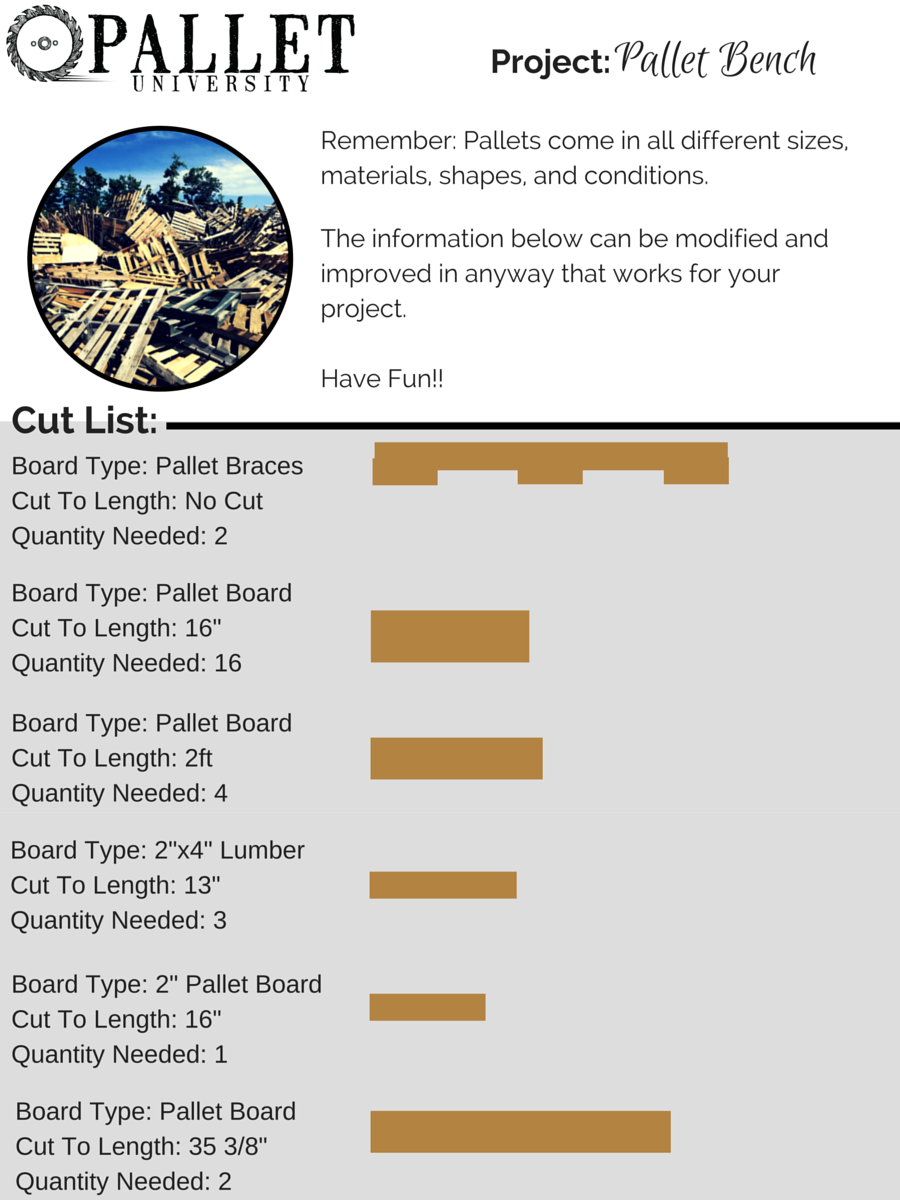
VIEW FULL CUT LIST
1. Assemble The Tools
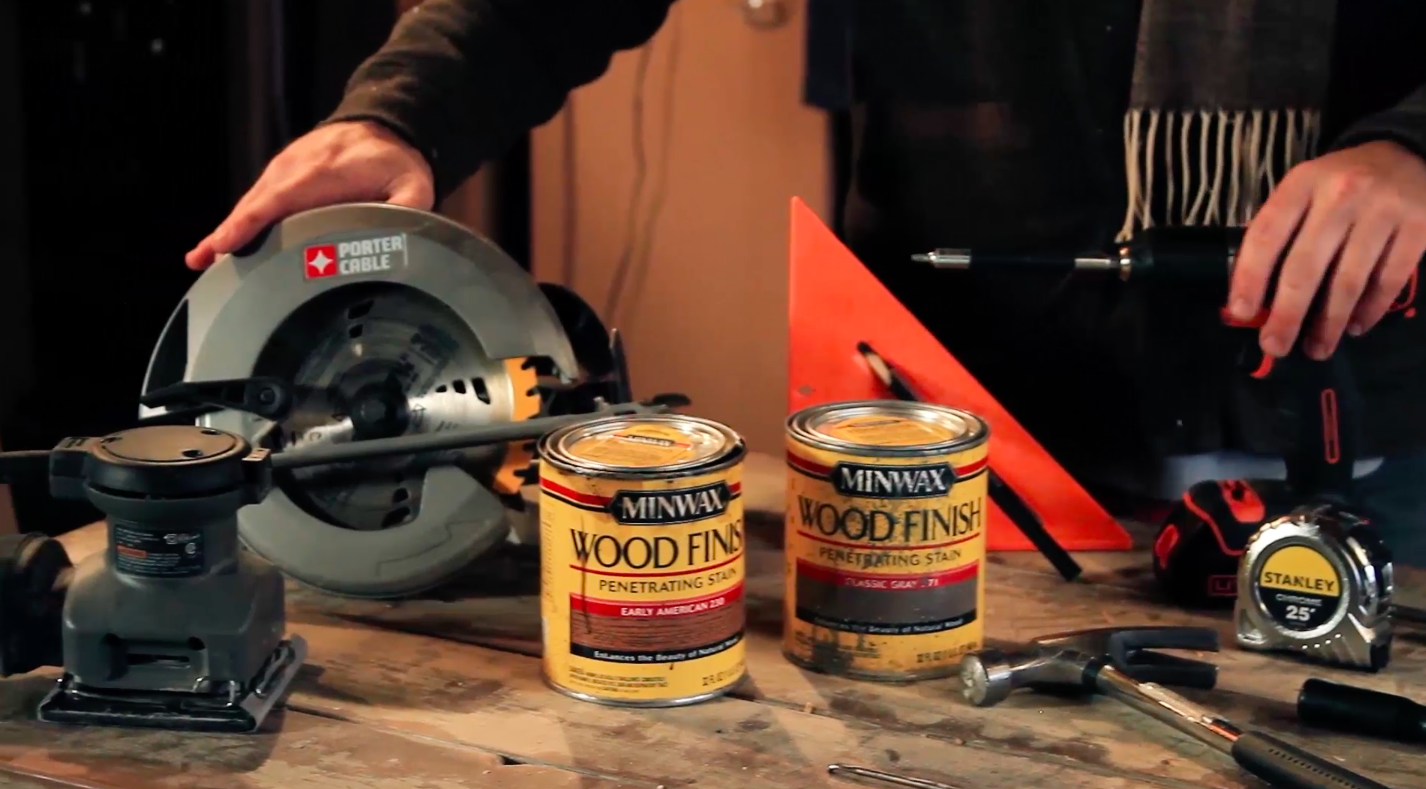
This is one of those projects that everyone thinks you need expensive tools to complete. Trust me, it's not true. I am using under $200 worth of tools to complete this bench. Naturally, if you have a table saw, miter saw, band saw, router, etc. it certainly doesn't hurt. But, it's not necessary.
The basic minimum power tools required are a Drill, Circular Saw and Orbital Sander.
2. Measure, Mark, and Cut Your Inside Bracing
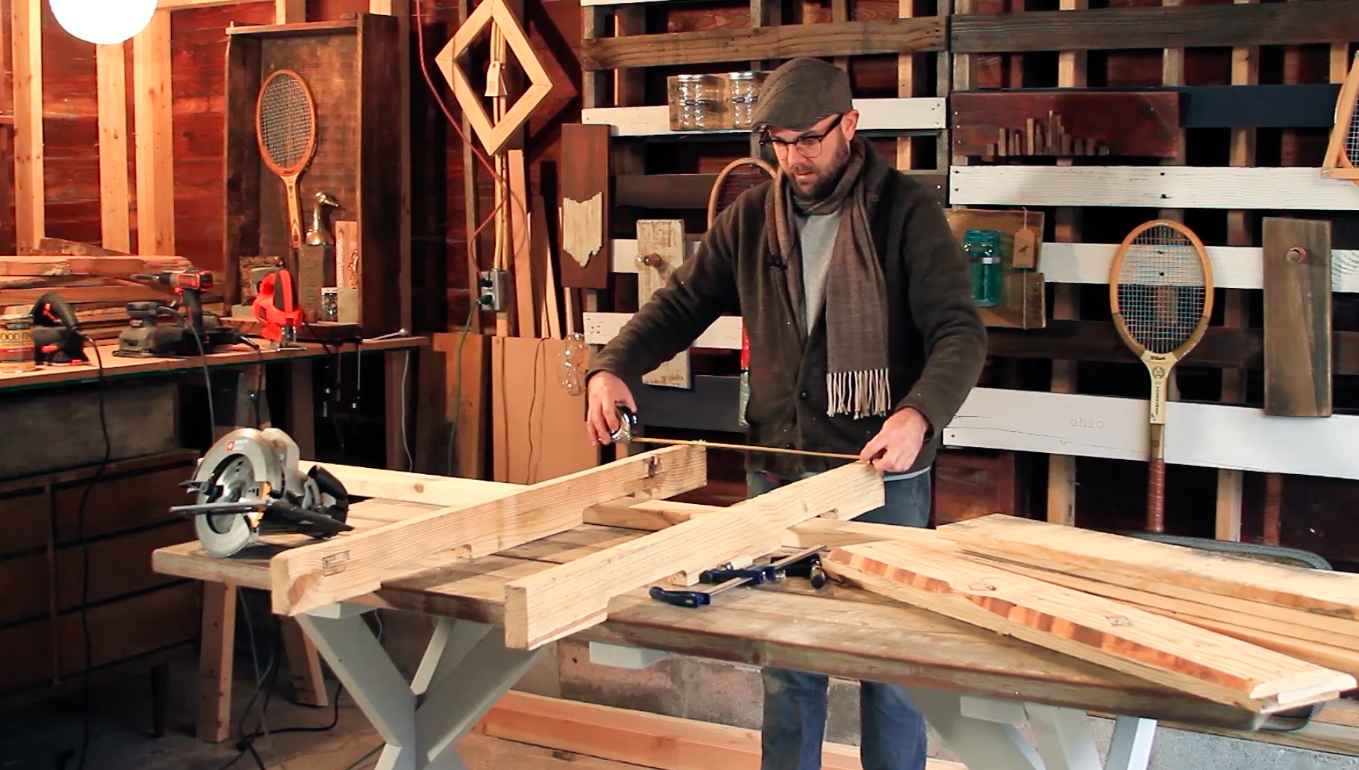
You'll find I repeat this often with pallet projects, every pallet is different, and so therefore, every pallet project will be different. Basically, I simply mean that measurements will not always be 100% accurate.
What works for one pallet may not work for another.
I like to maximize the amount of usable wood by minimizing the amount of cuts. For instance, I wanted to be able to cut my top boards in half and use both pieces for the top of the bench. So, I just made sure to make the width of my bench the size of my top pallet boards cut in half.
This process begins in the design phase. This bench can be as tall, wide, or as long as you want.
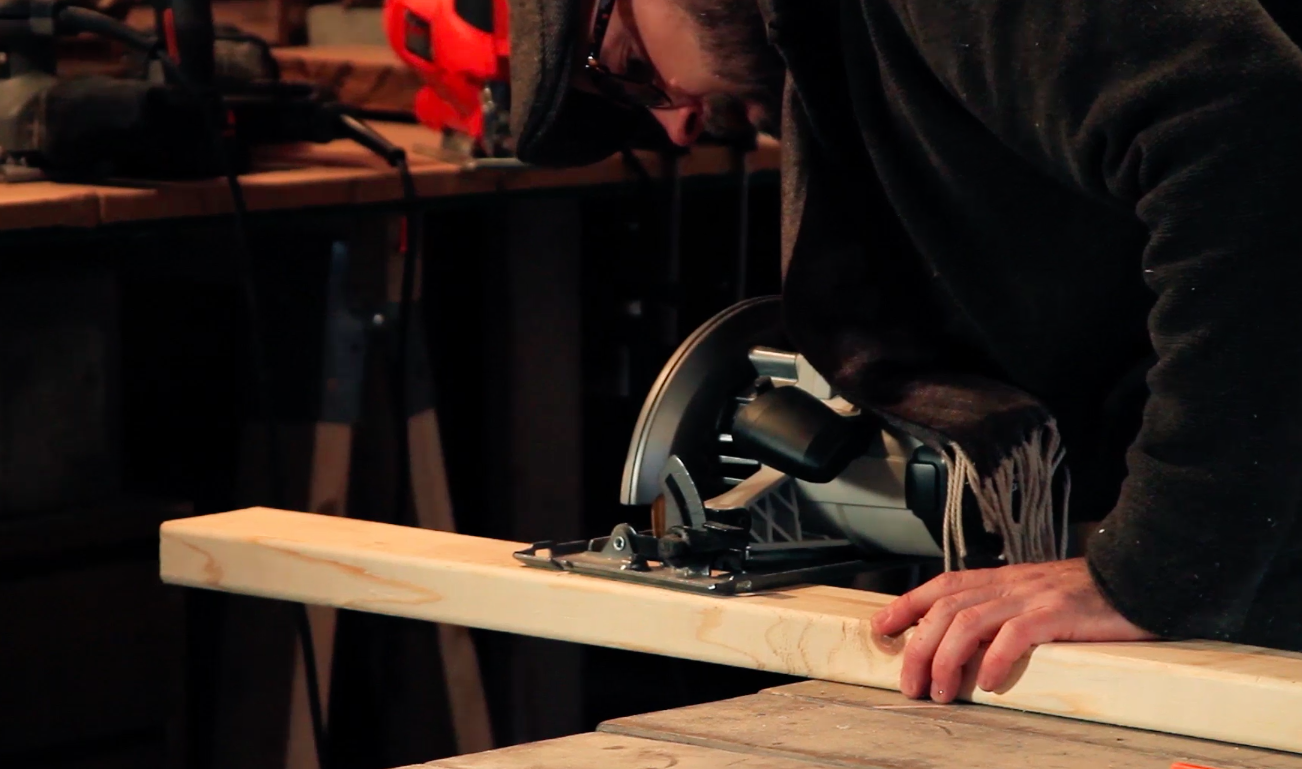
Cut about three 2x4's so that the width of your bench is the same size of a top pallet board cut in half. Be sure to add the outside pieces onto the measurement.
3. Secure Bracing Boards
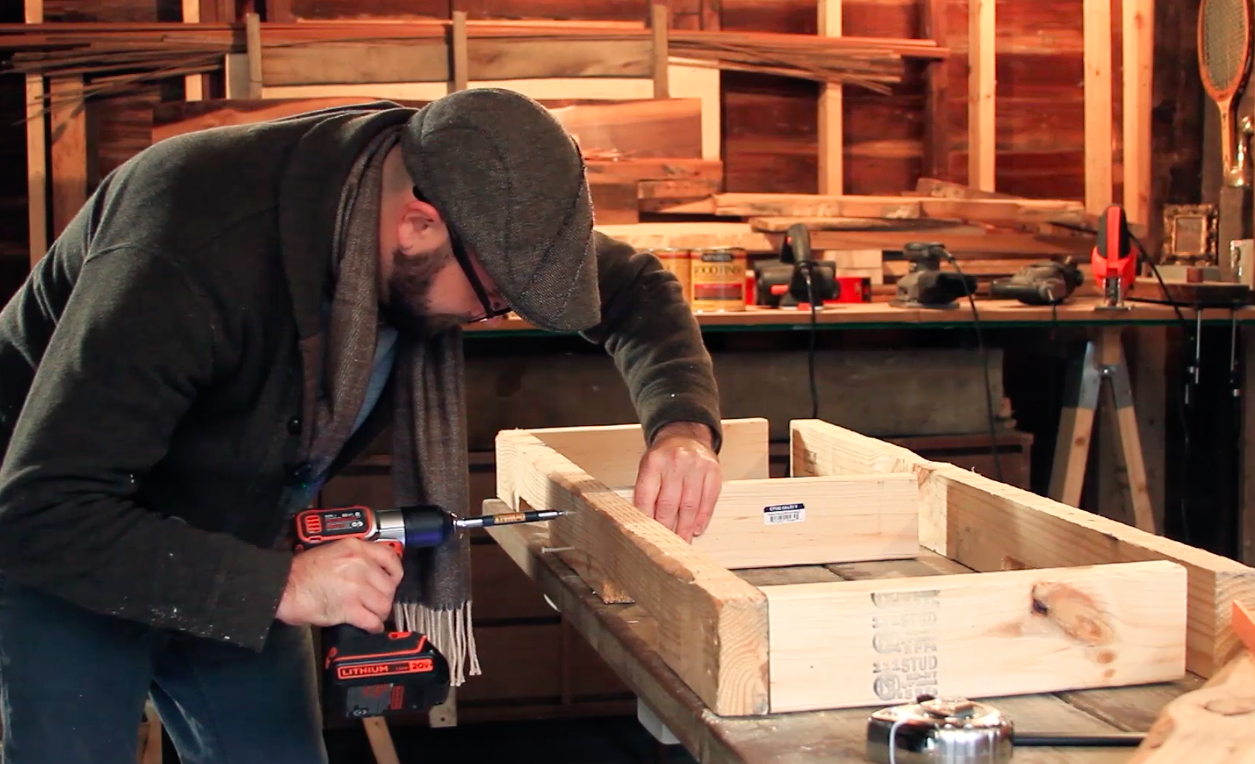
Drill a pilot hole and attach the inside braces with 2" or 3" screws. Try to ensure the bracing boards are flush with the top of the rest of the wood. This ensures a flat surface to attach the top boards.
4. Measure and Cut the Top Boards
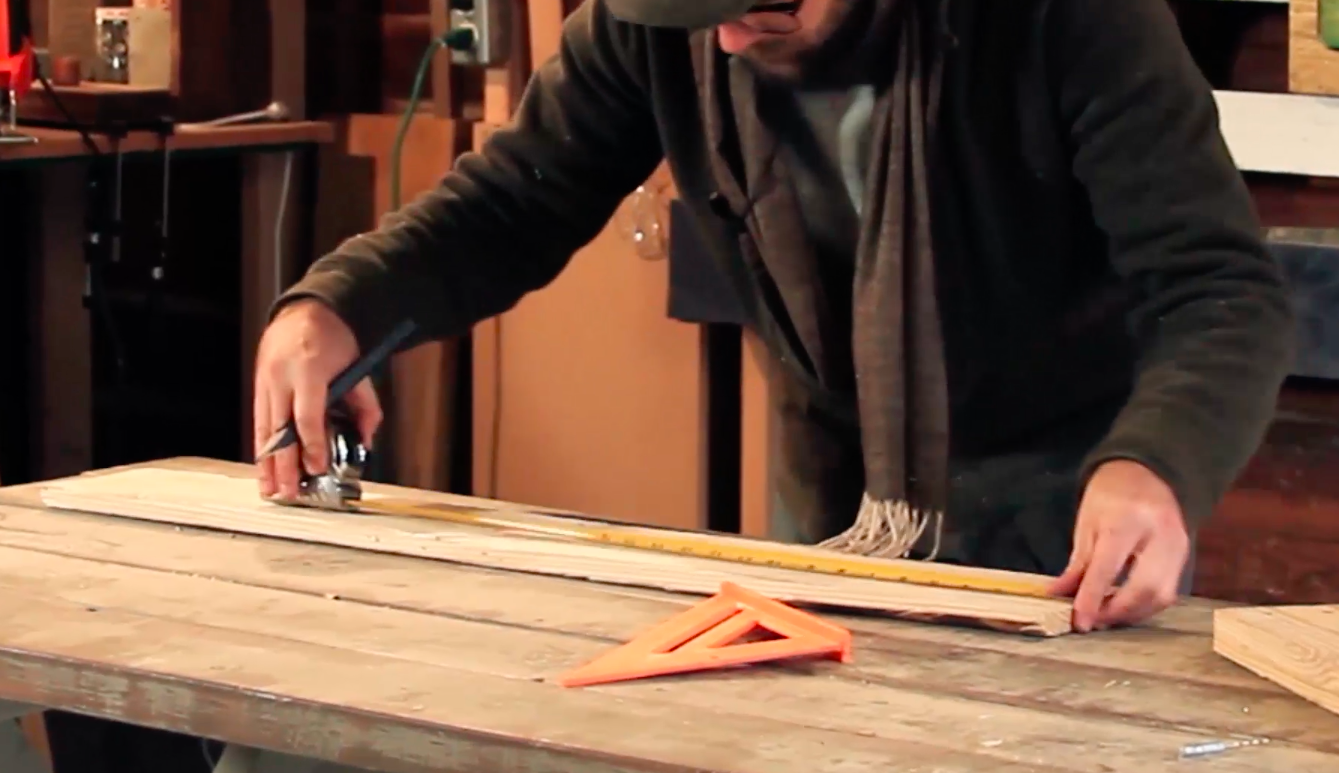
Just to reiterate, in order to maximize the amount of usable wood, I made the width of the bench the same as a pallet board cut in half. So, now all you have to do is cut the top boards in half.
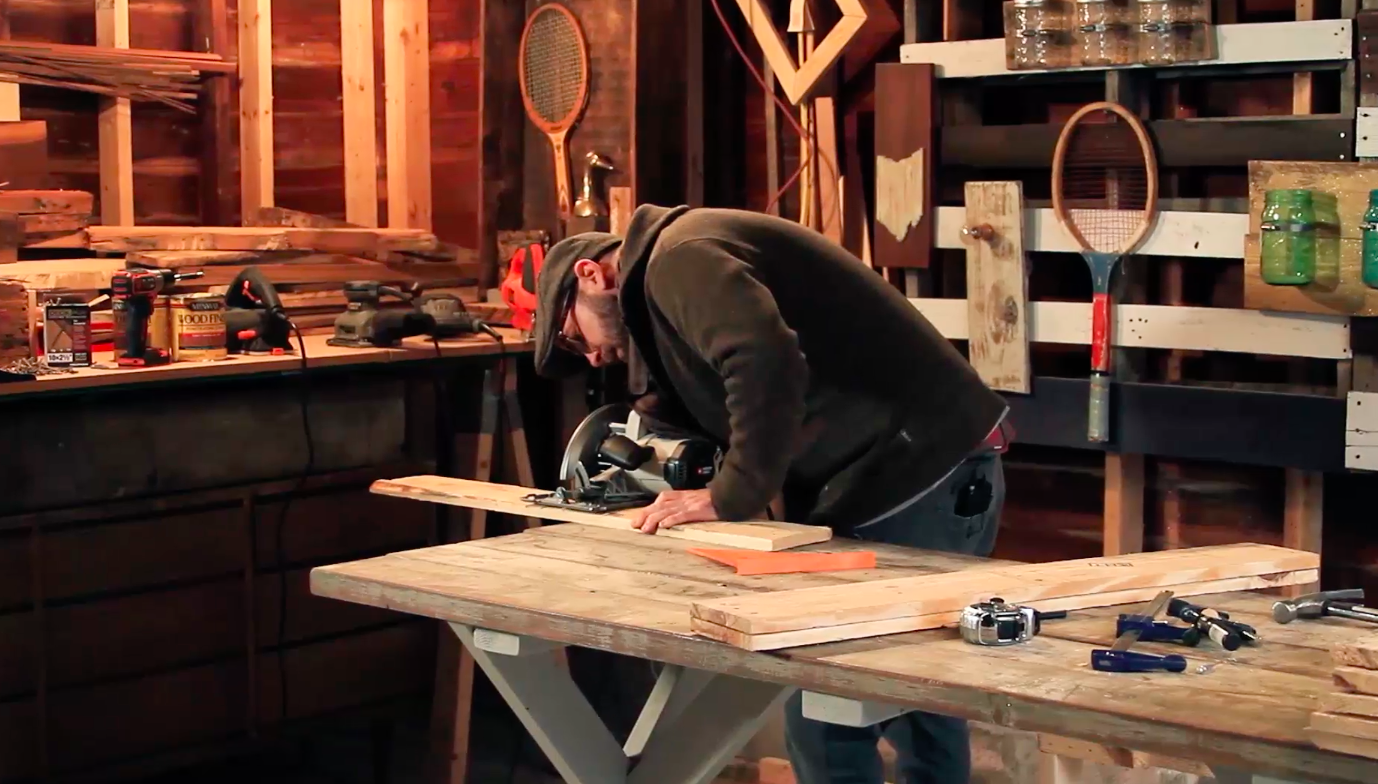
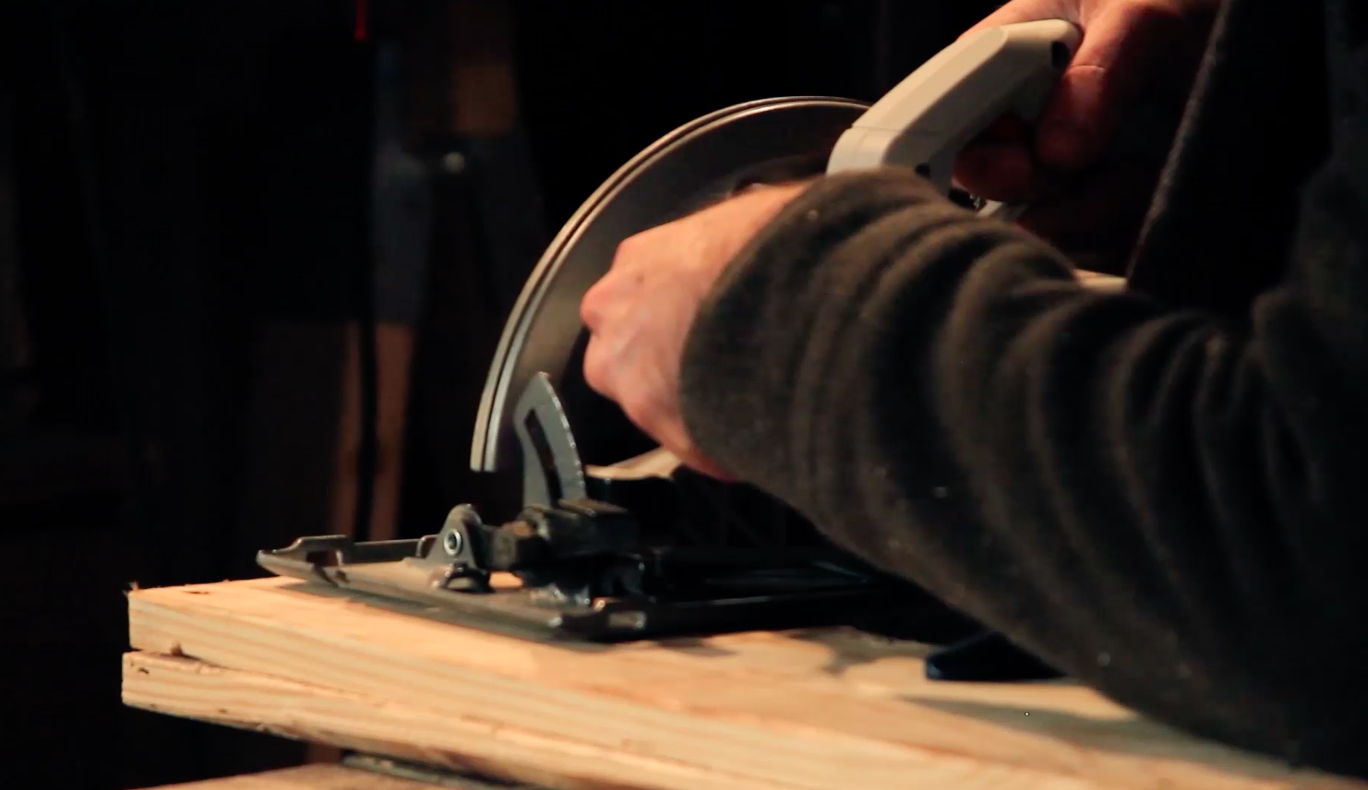
I try to cut 2 at a time when I can. Just make sure to clamp them together so they do not move while cutting.
5. Attach Top Boards
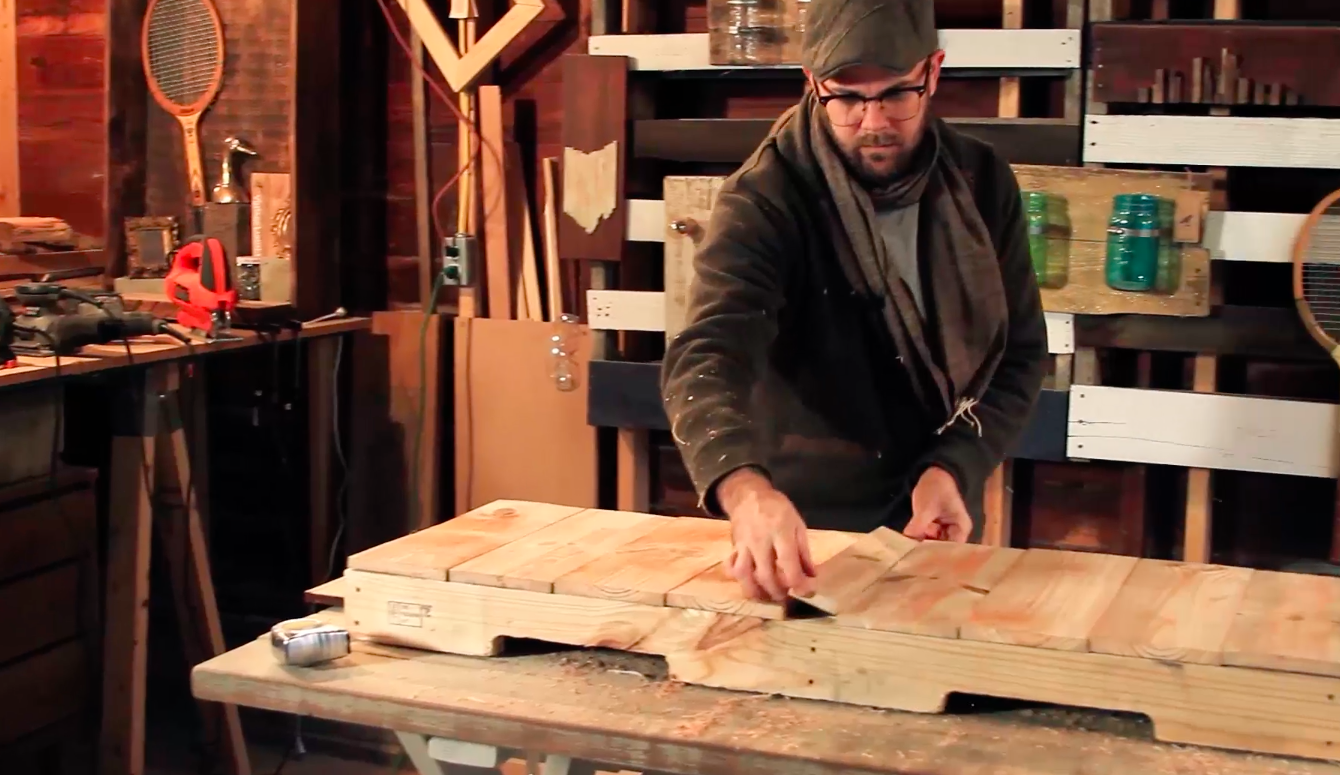
Lay all of the top boards onto the base of the bench to ensure everything fits. You make have to cut a smaller piece to fill in a gap here and there.
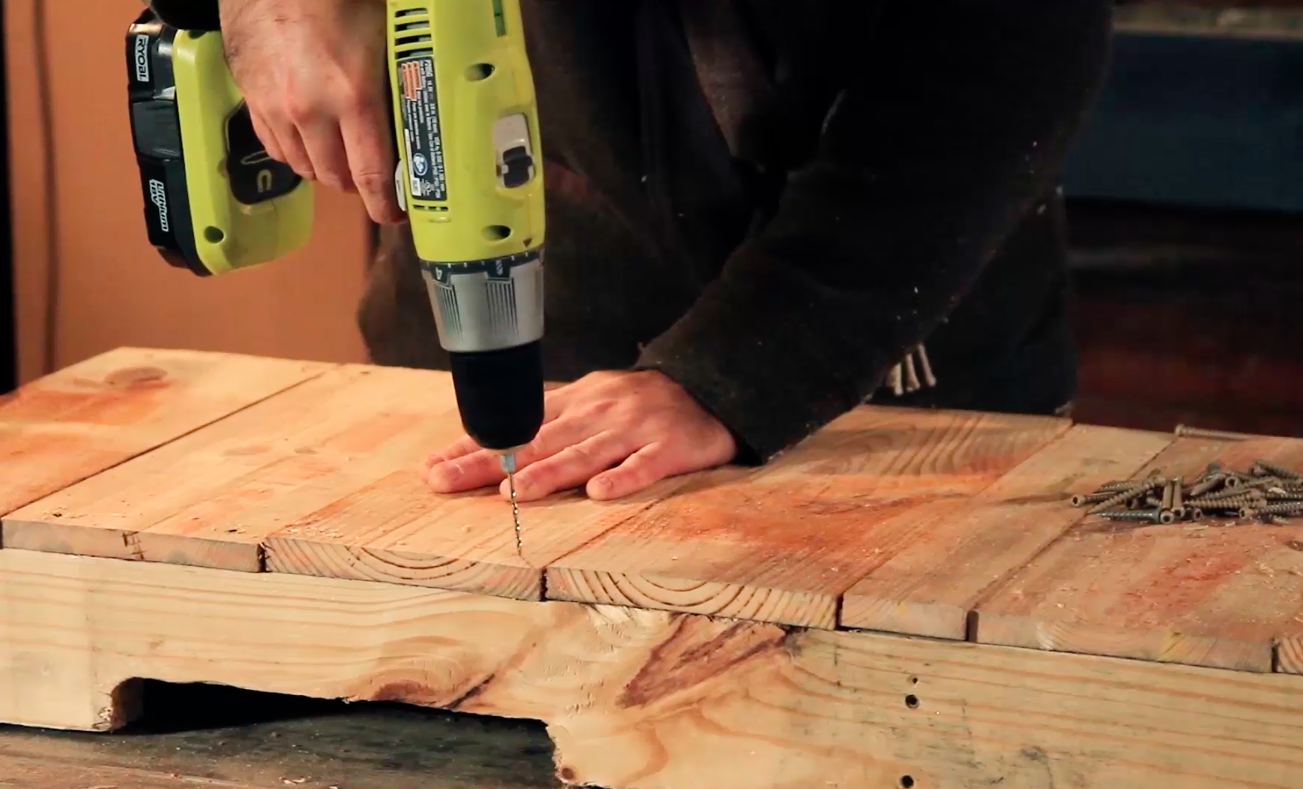
Drill pilot holes and attach top boards using 1 5/8" screws.
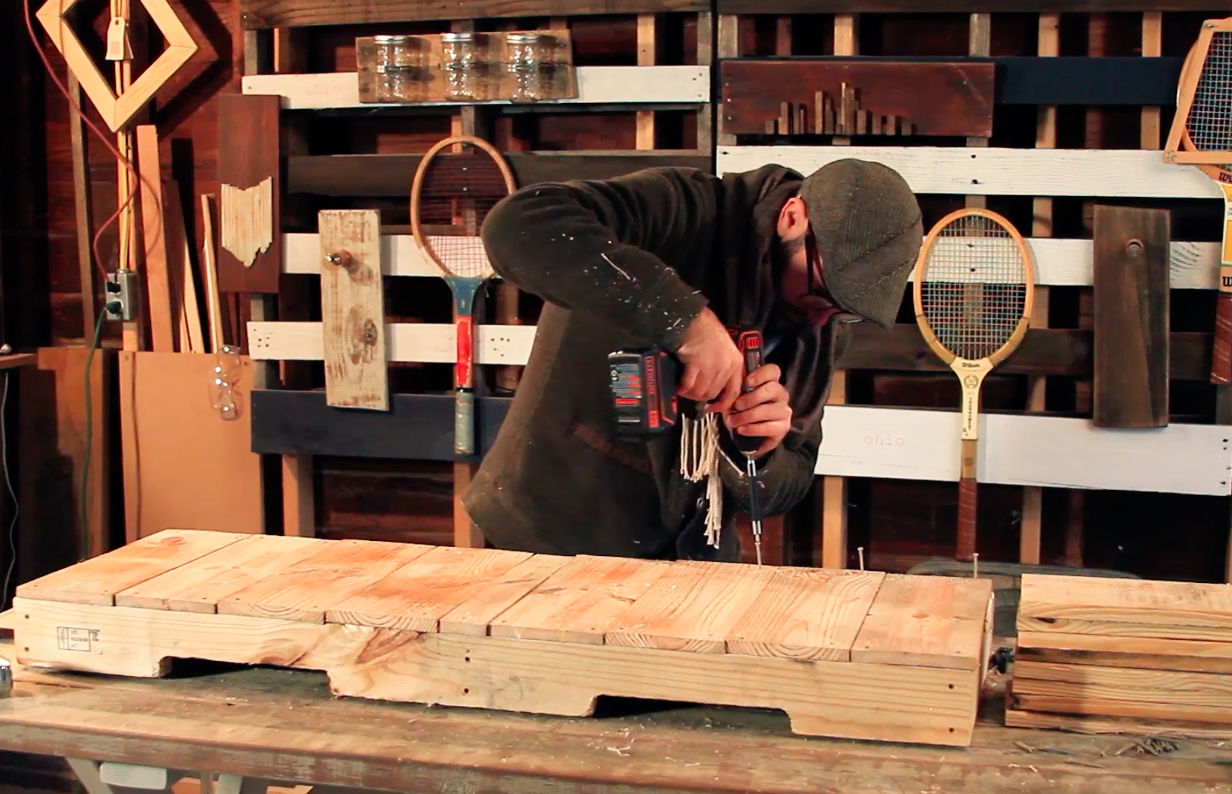
I like to use composite deck screws when I am using a pallet made out of a softer wood. The composite deck screws have a smaller head and will sink deeper into the wood.
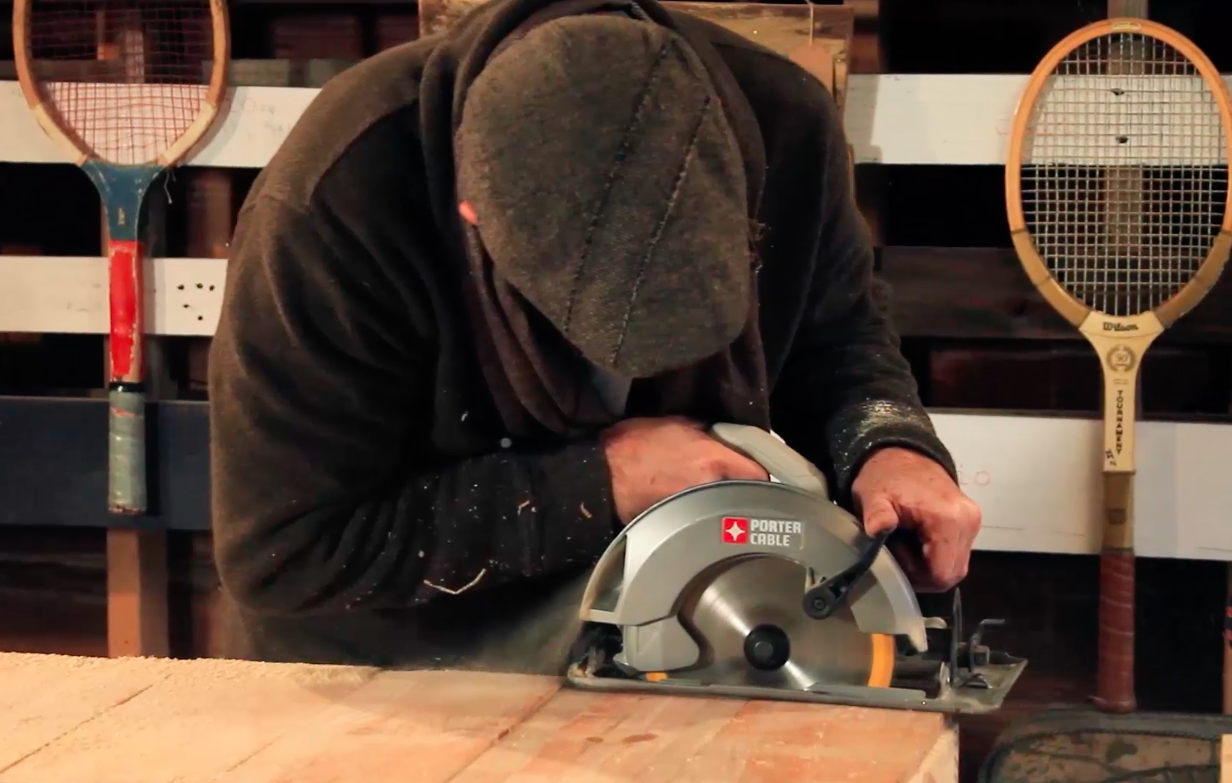
Not everyone is perfect (especially me) and sometime our cuts can be slightly off. It's ok. Just run your circular saw down each side of your bench to make each board the same length.
6. Cut and Attach Leg Boards
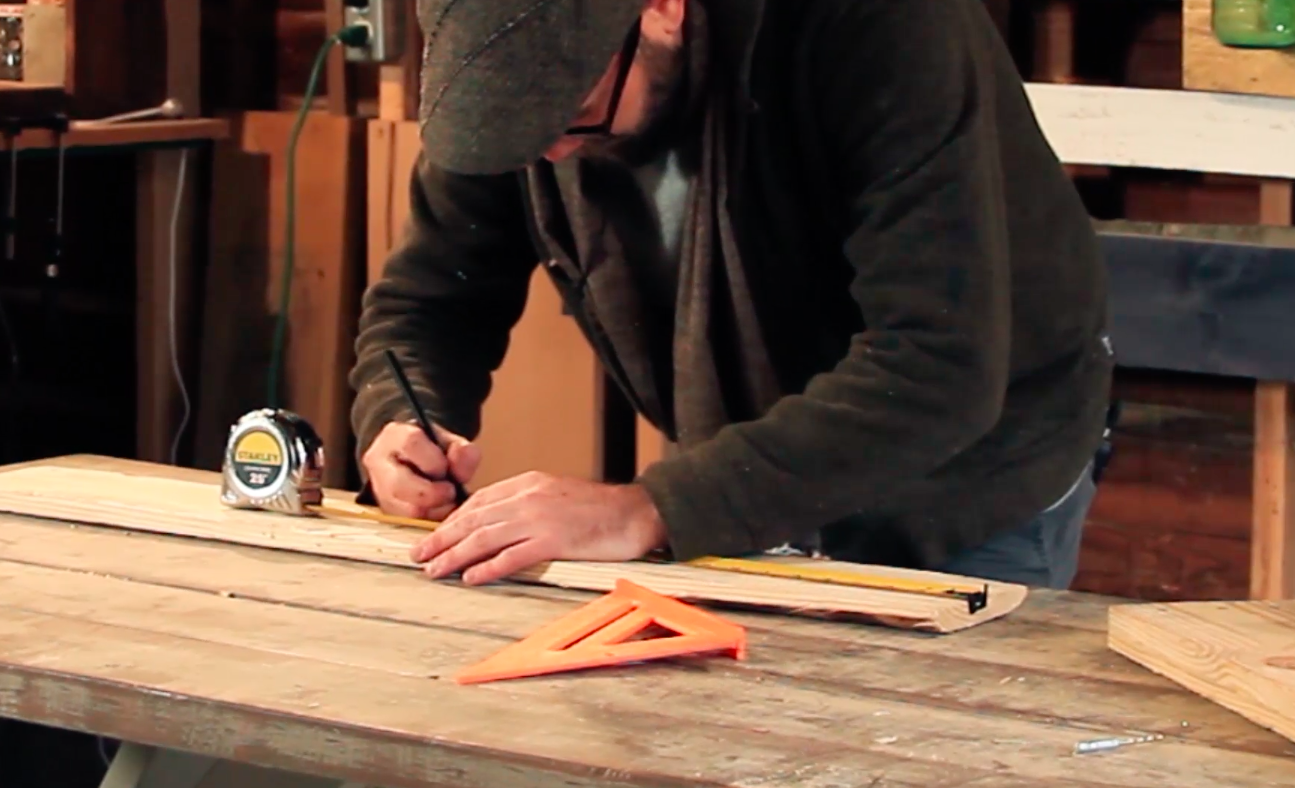
Typical bench seating is about 18" tall. I knew I wanted my leg board to cover a portion of the top board, so I cut my boards about and inch longer.
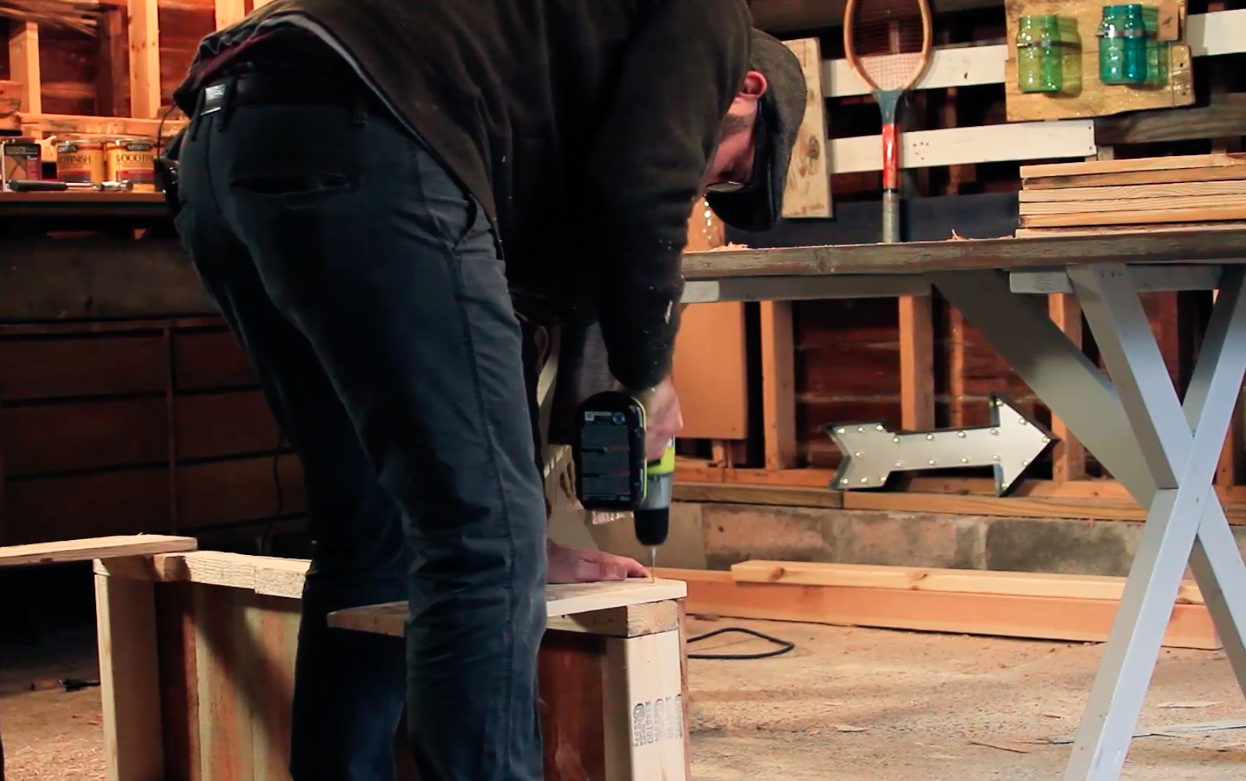
As always, drill pilot holes and attach the legs onto the side of the base.
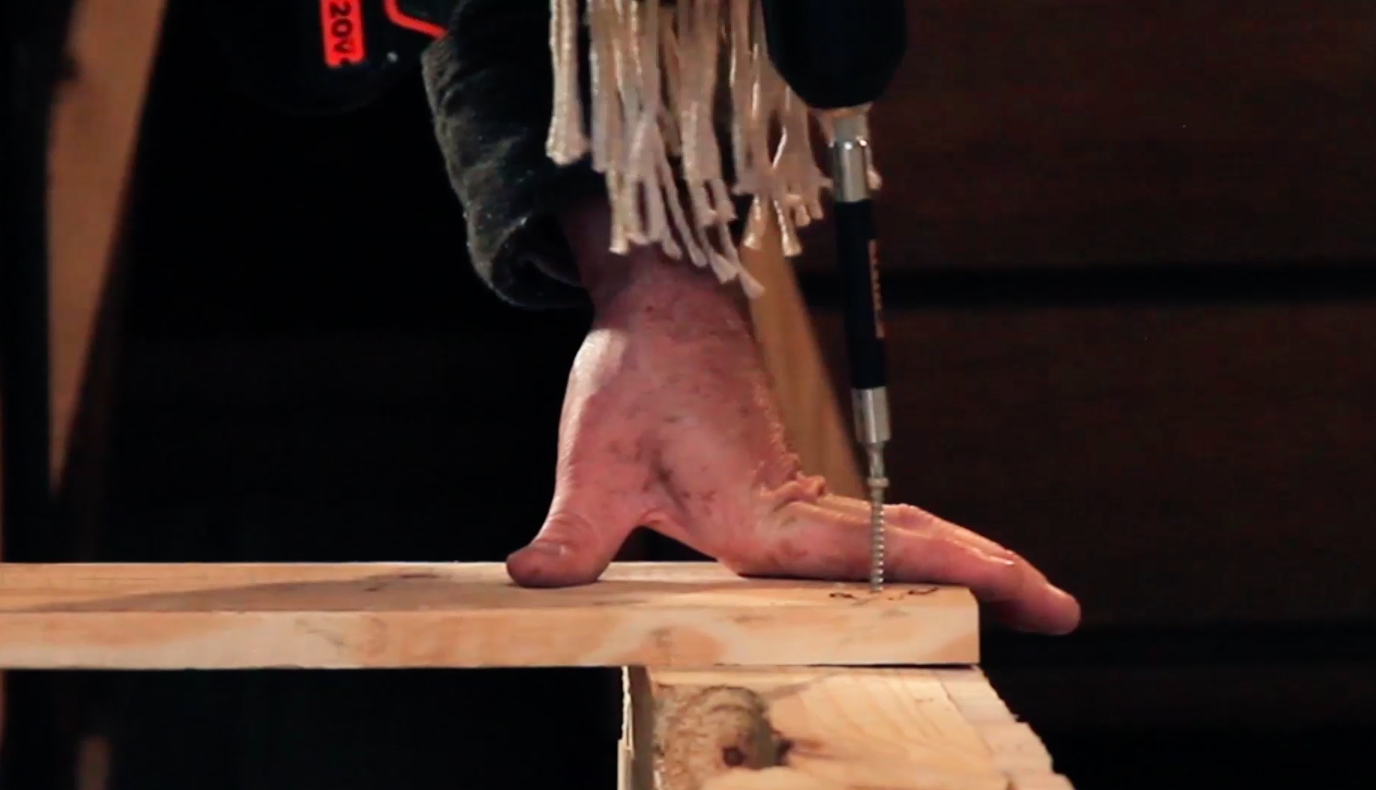
The pictures above and below show the leg board covering a portion of the top board.
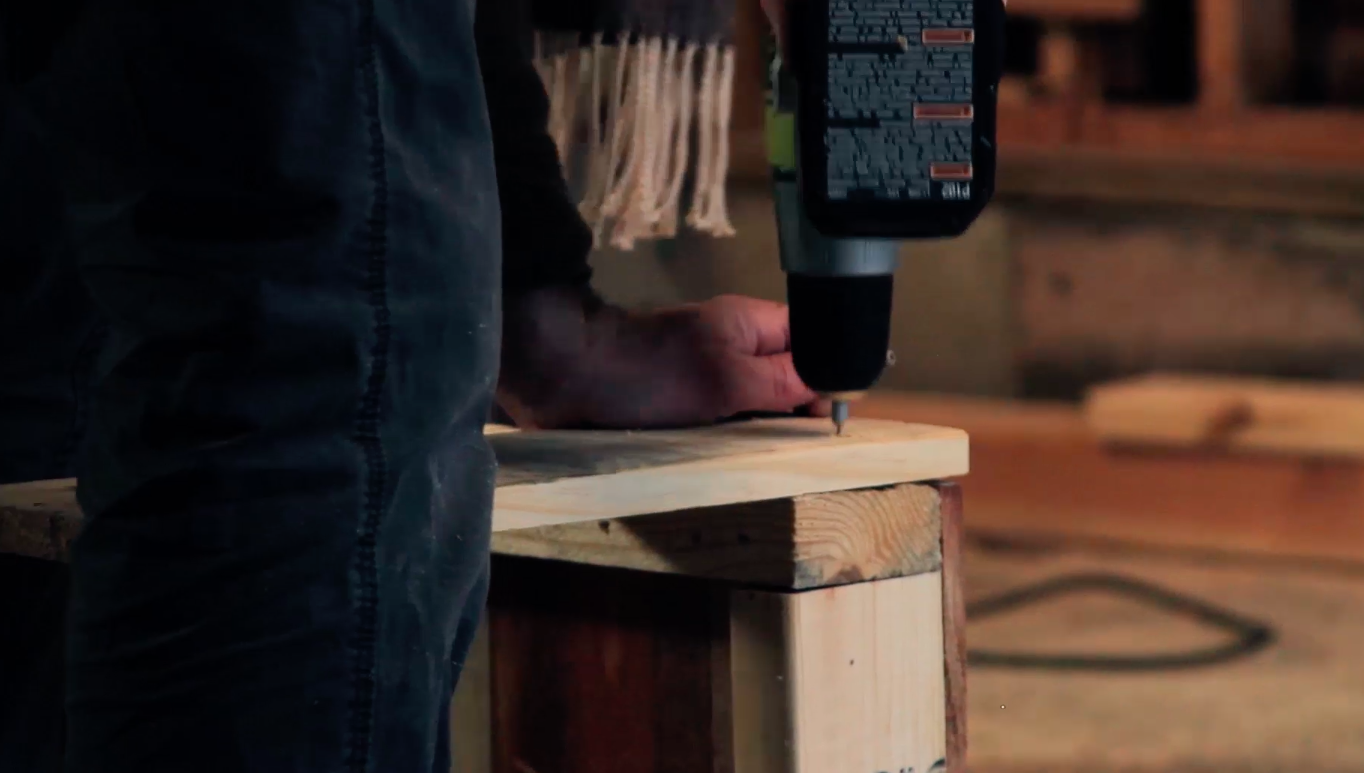
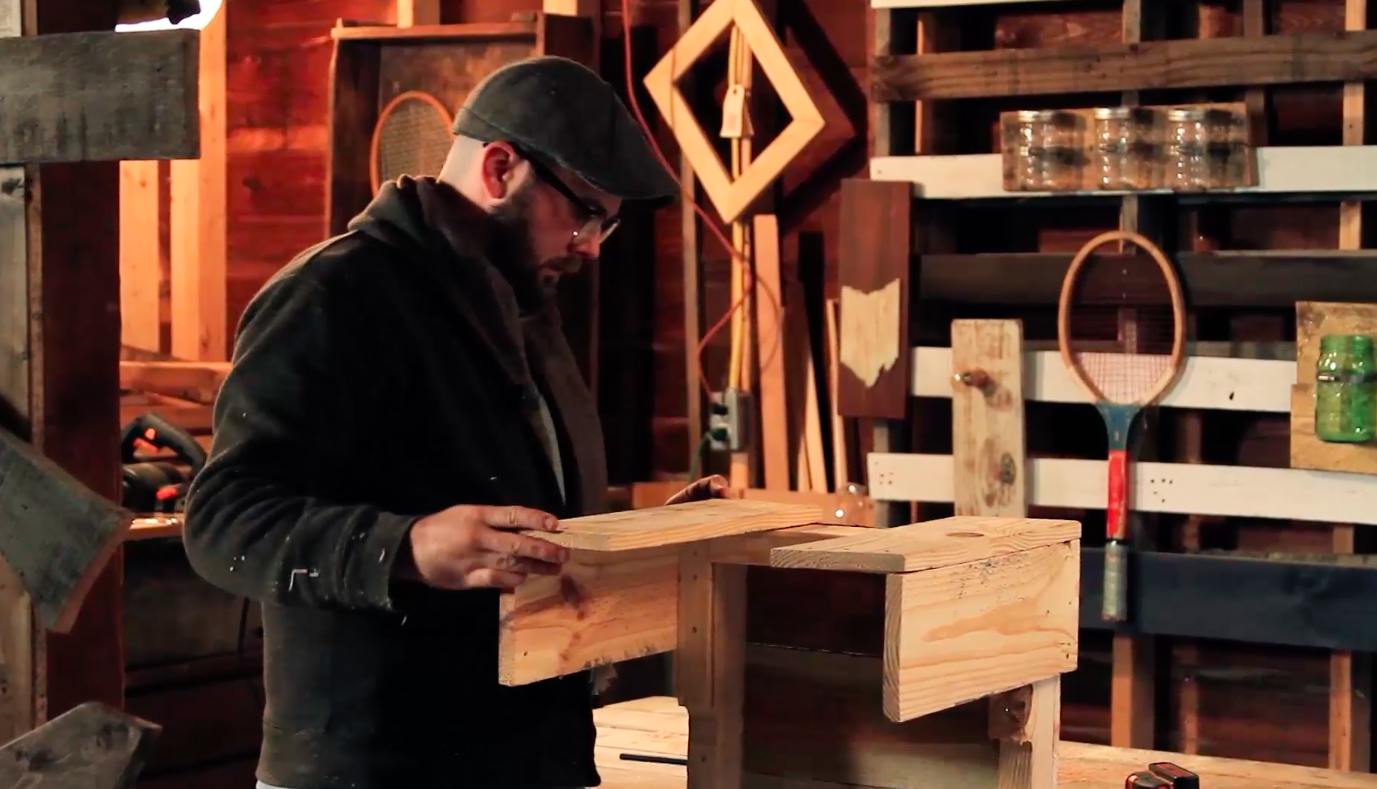
Notice the way the leg boards are situated on the bench. This is based on preference, but try to position the legs to make the bench as sturdy as possible.
7. Attach Side Trim Boards
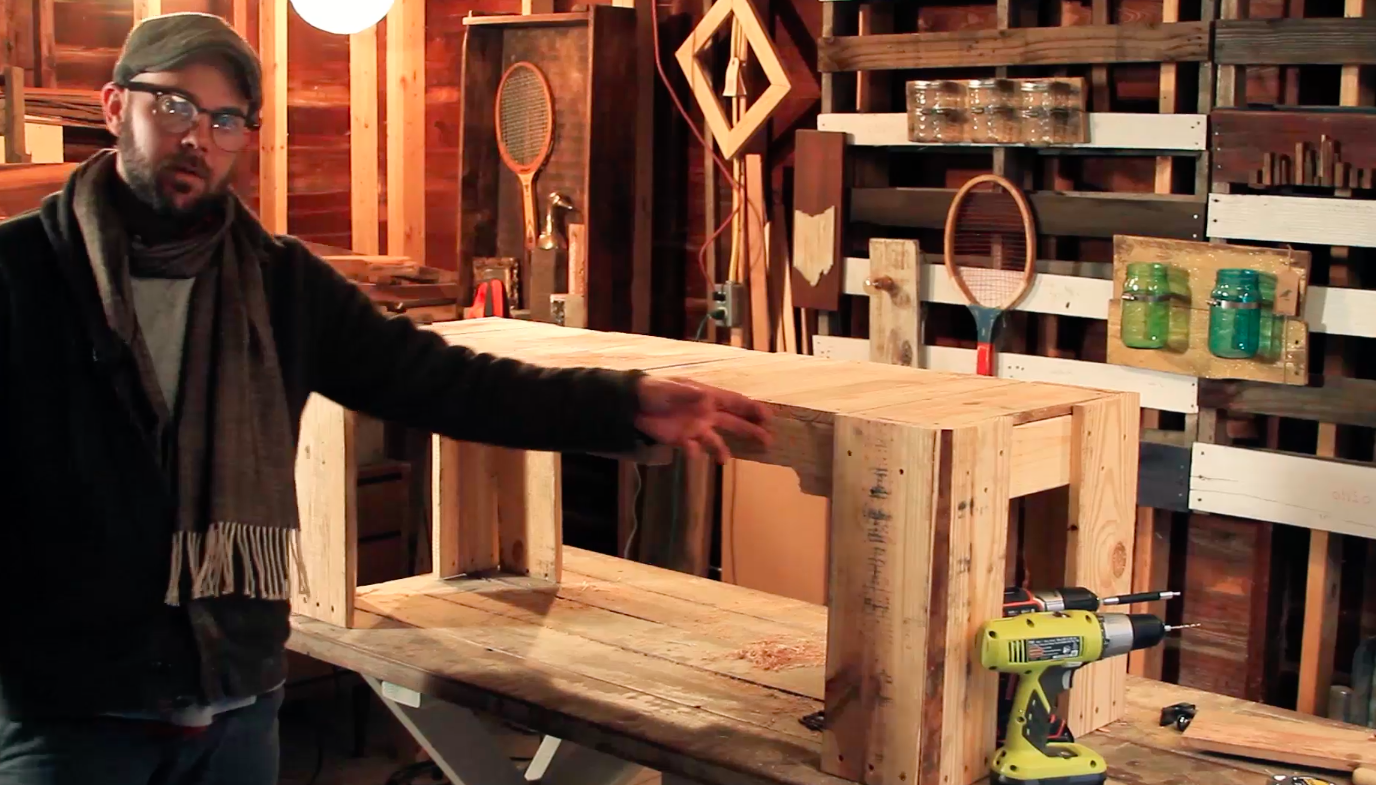
This part is optional if you prefer to leave the base pallet boards exposed.
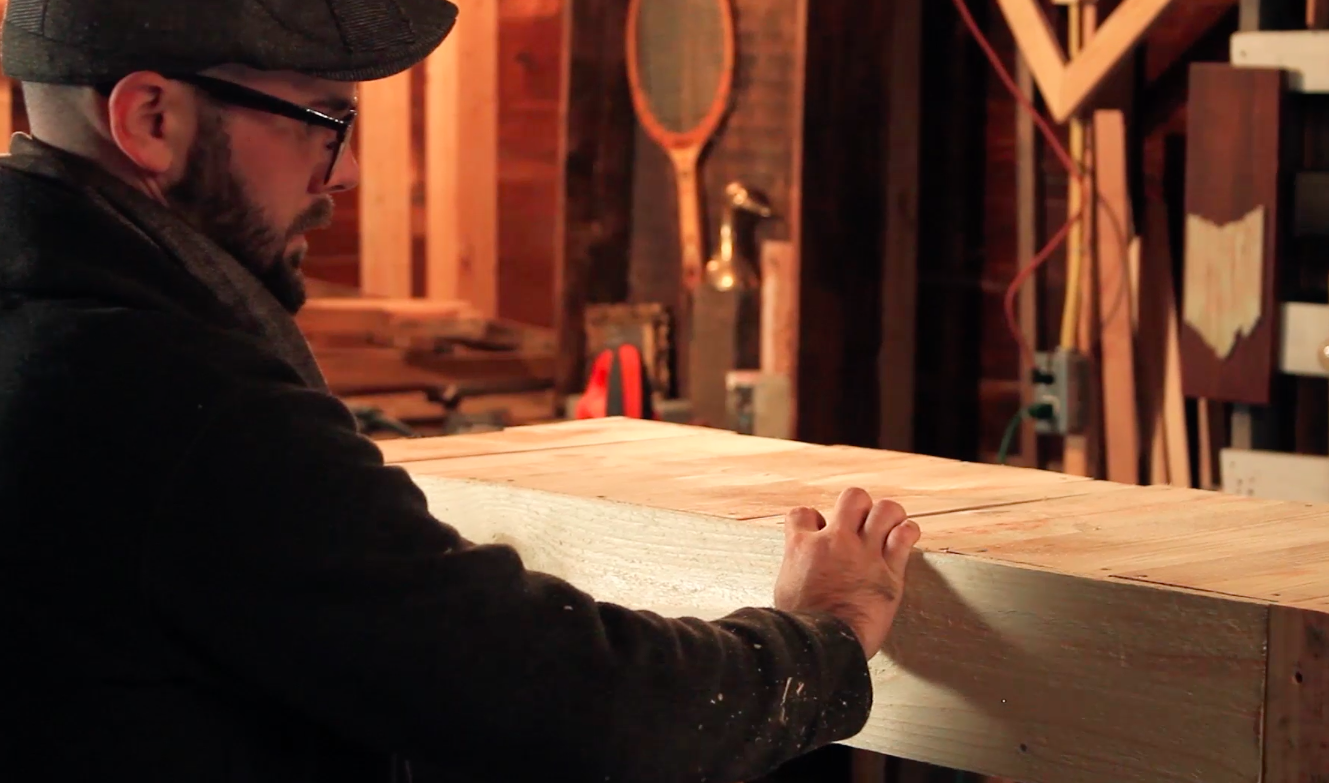
Simply measure the distance between the legs, and cut the board the same size.
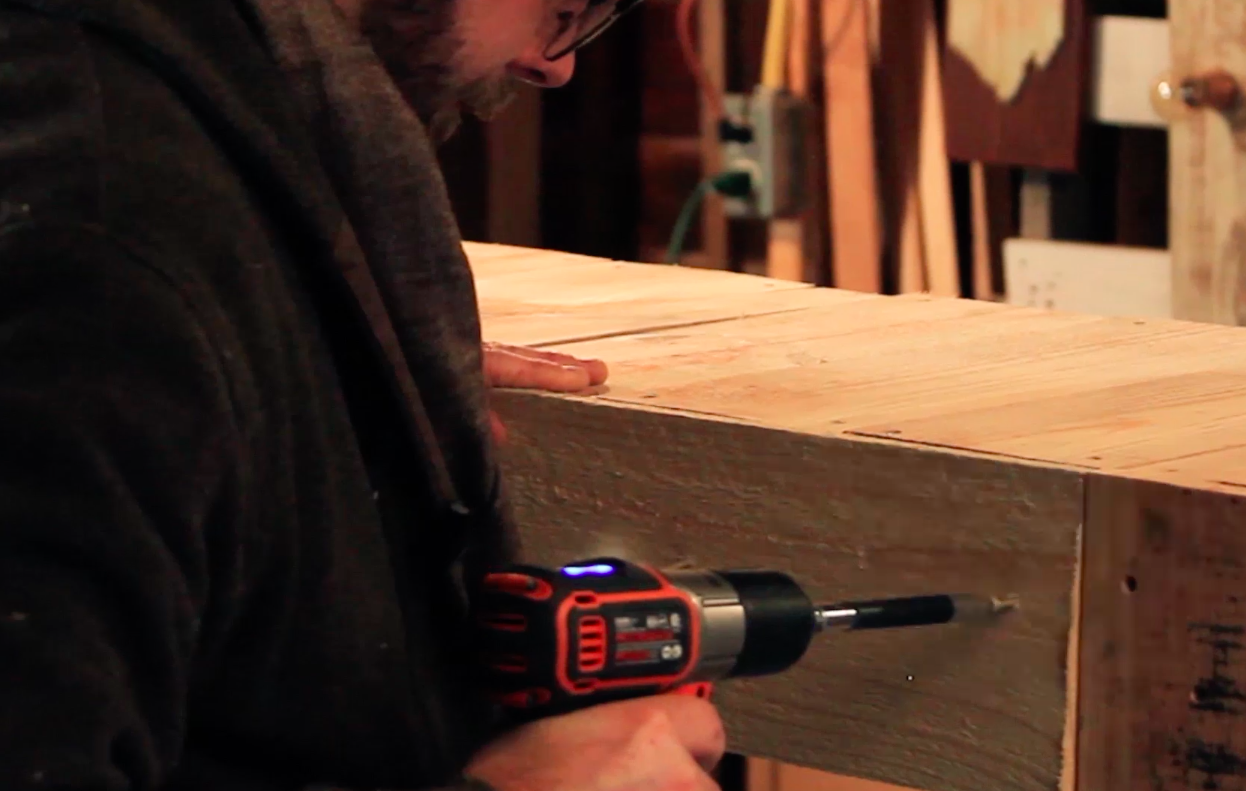
Attach after drilling pilot holes and using 1 5/8" screws.
8. Sand and Stain
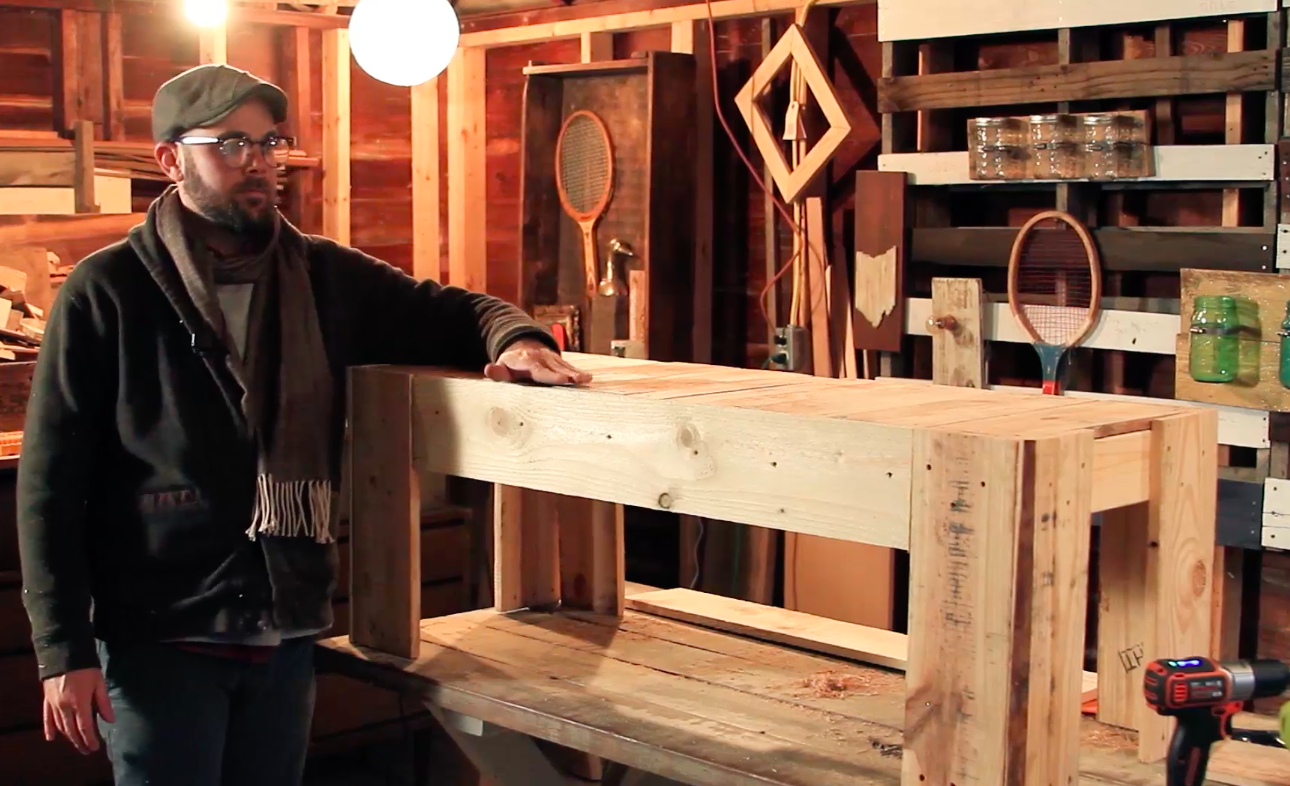
It doesn't hurt at this point to sand the bench down to get rid of any splinters.
6. You're Done!
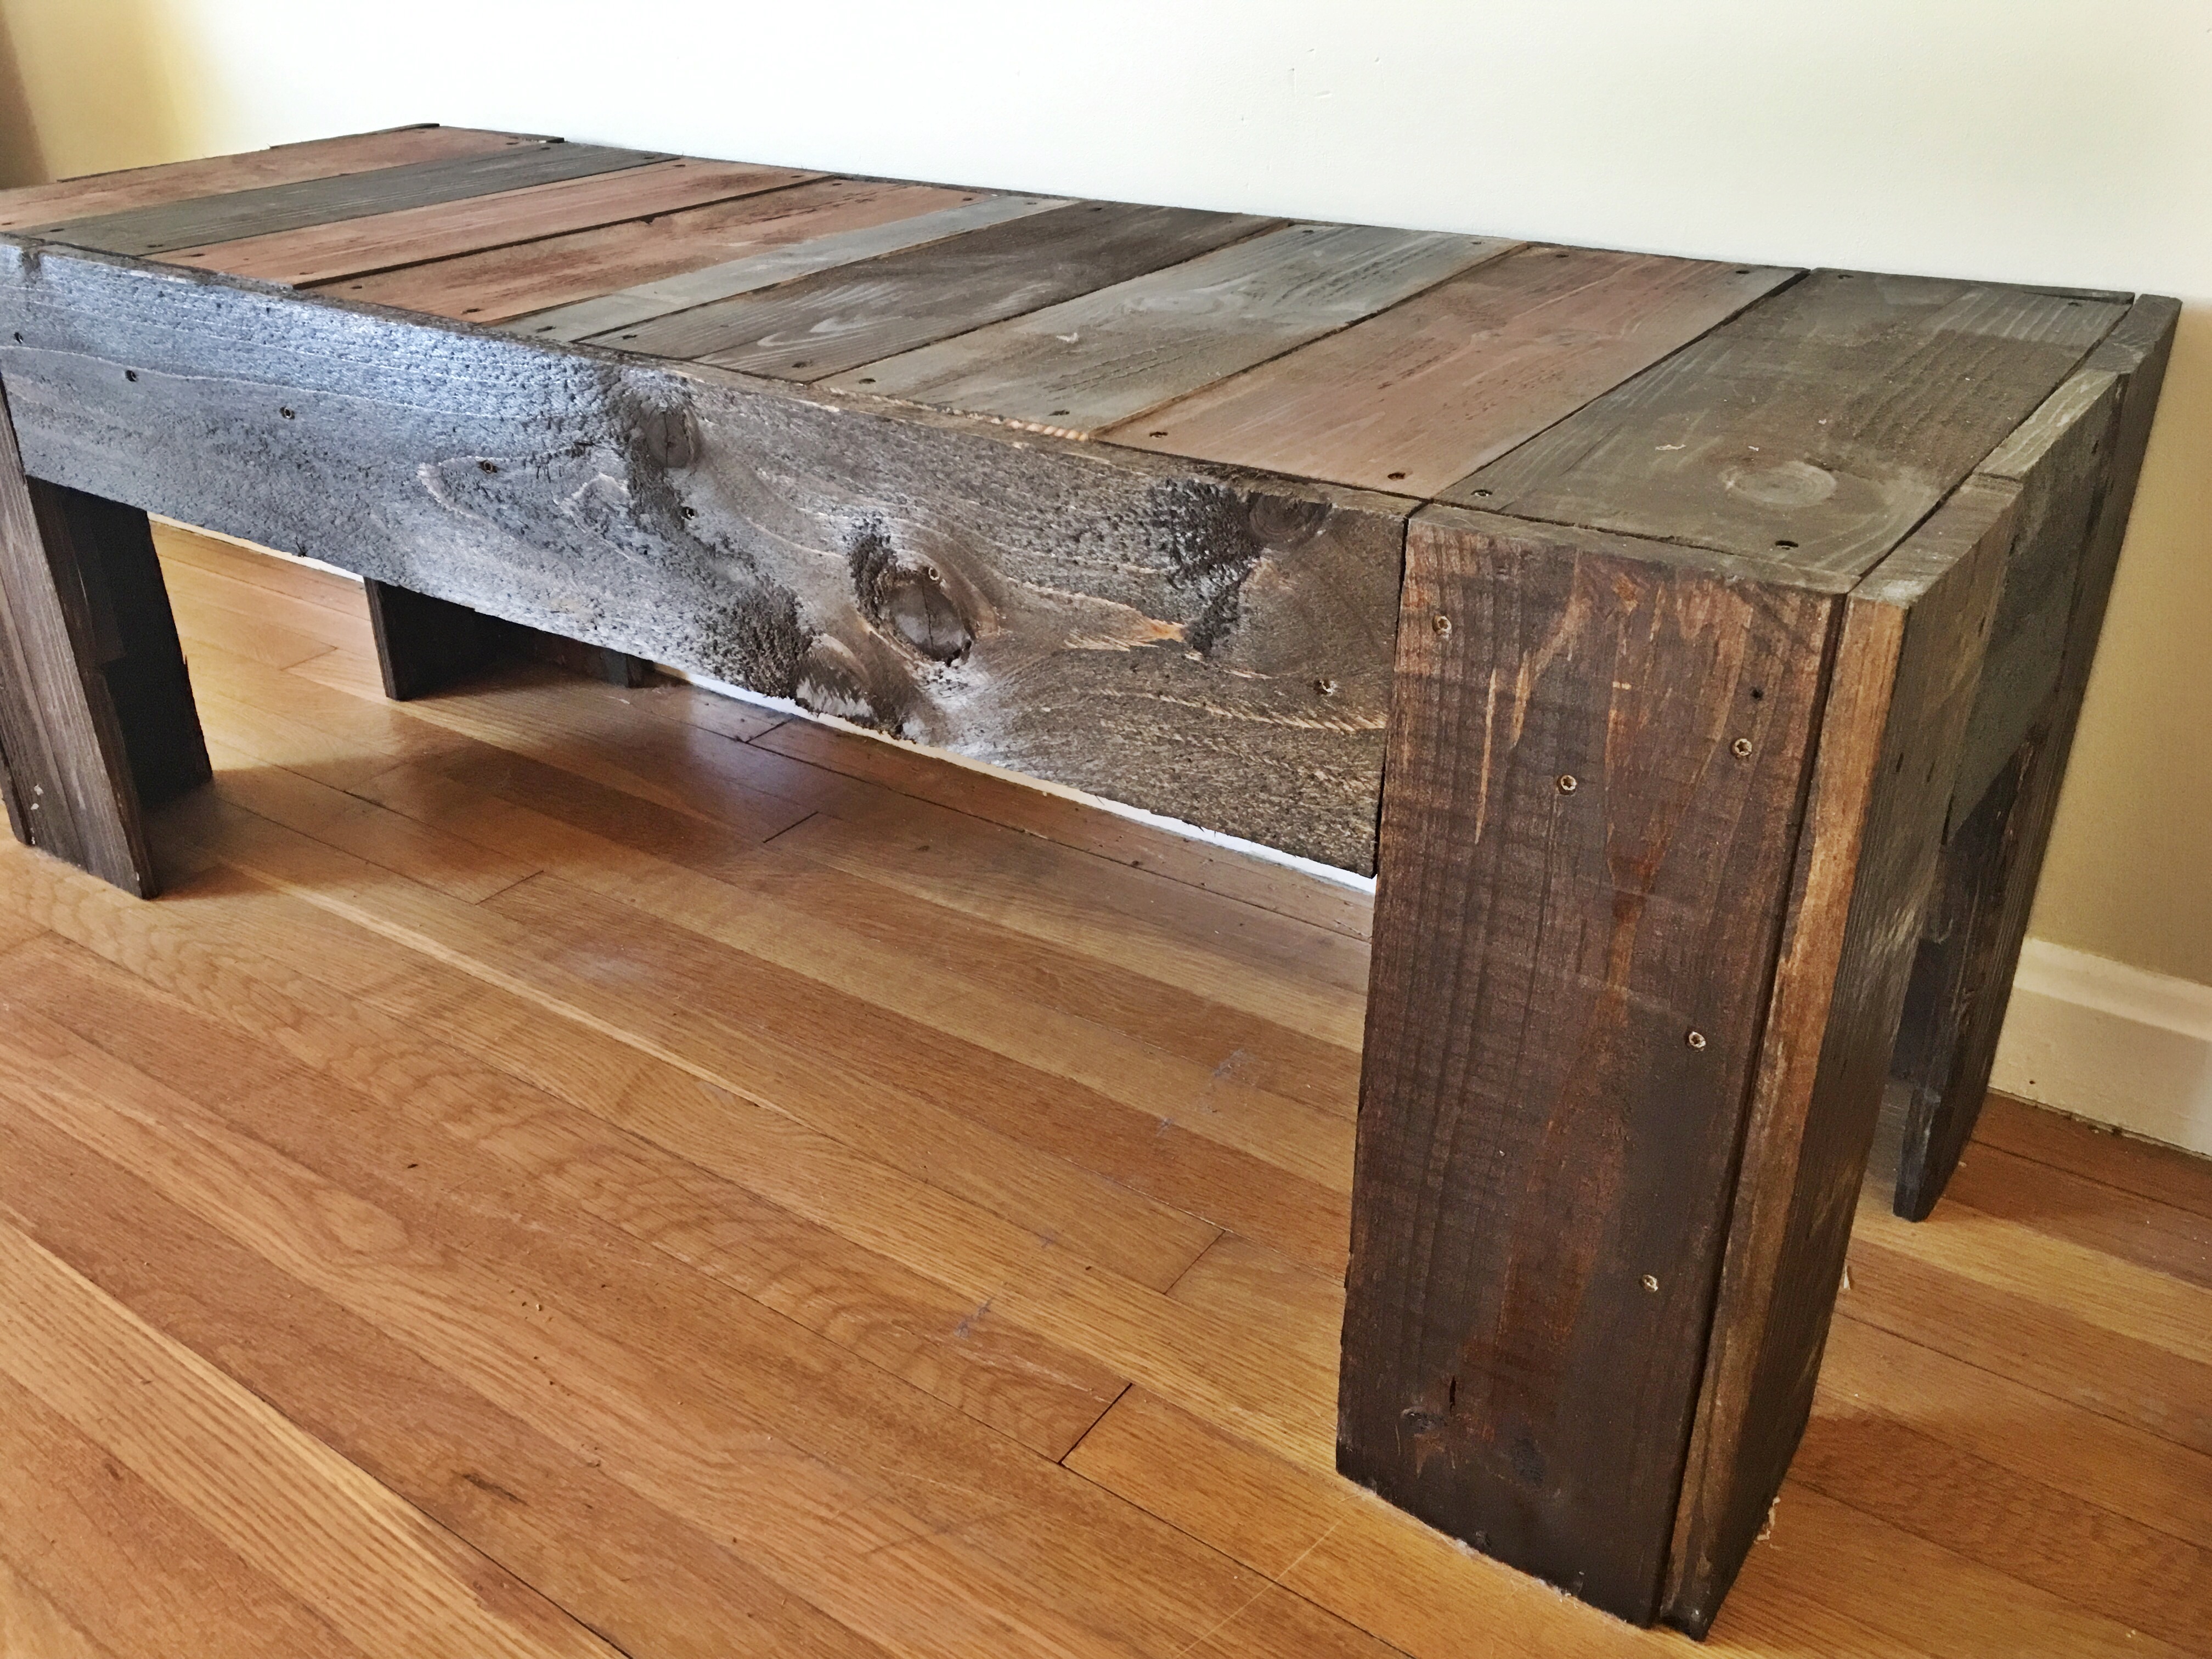
Add some stain and you're done!
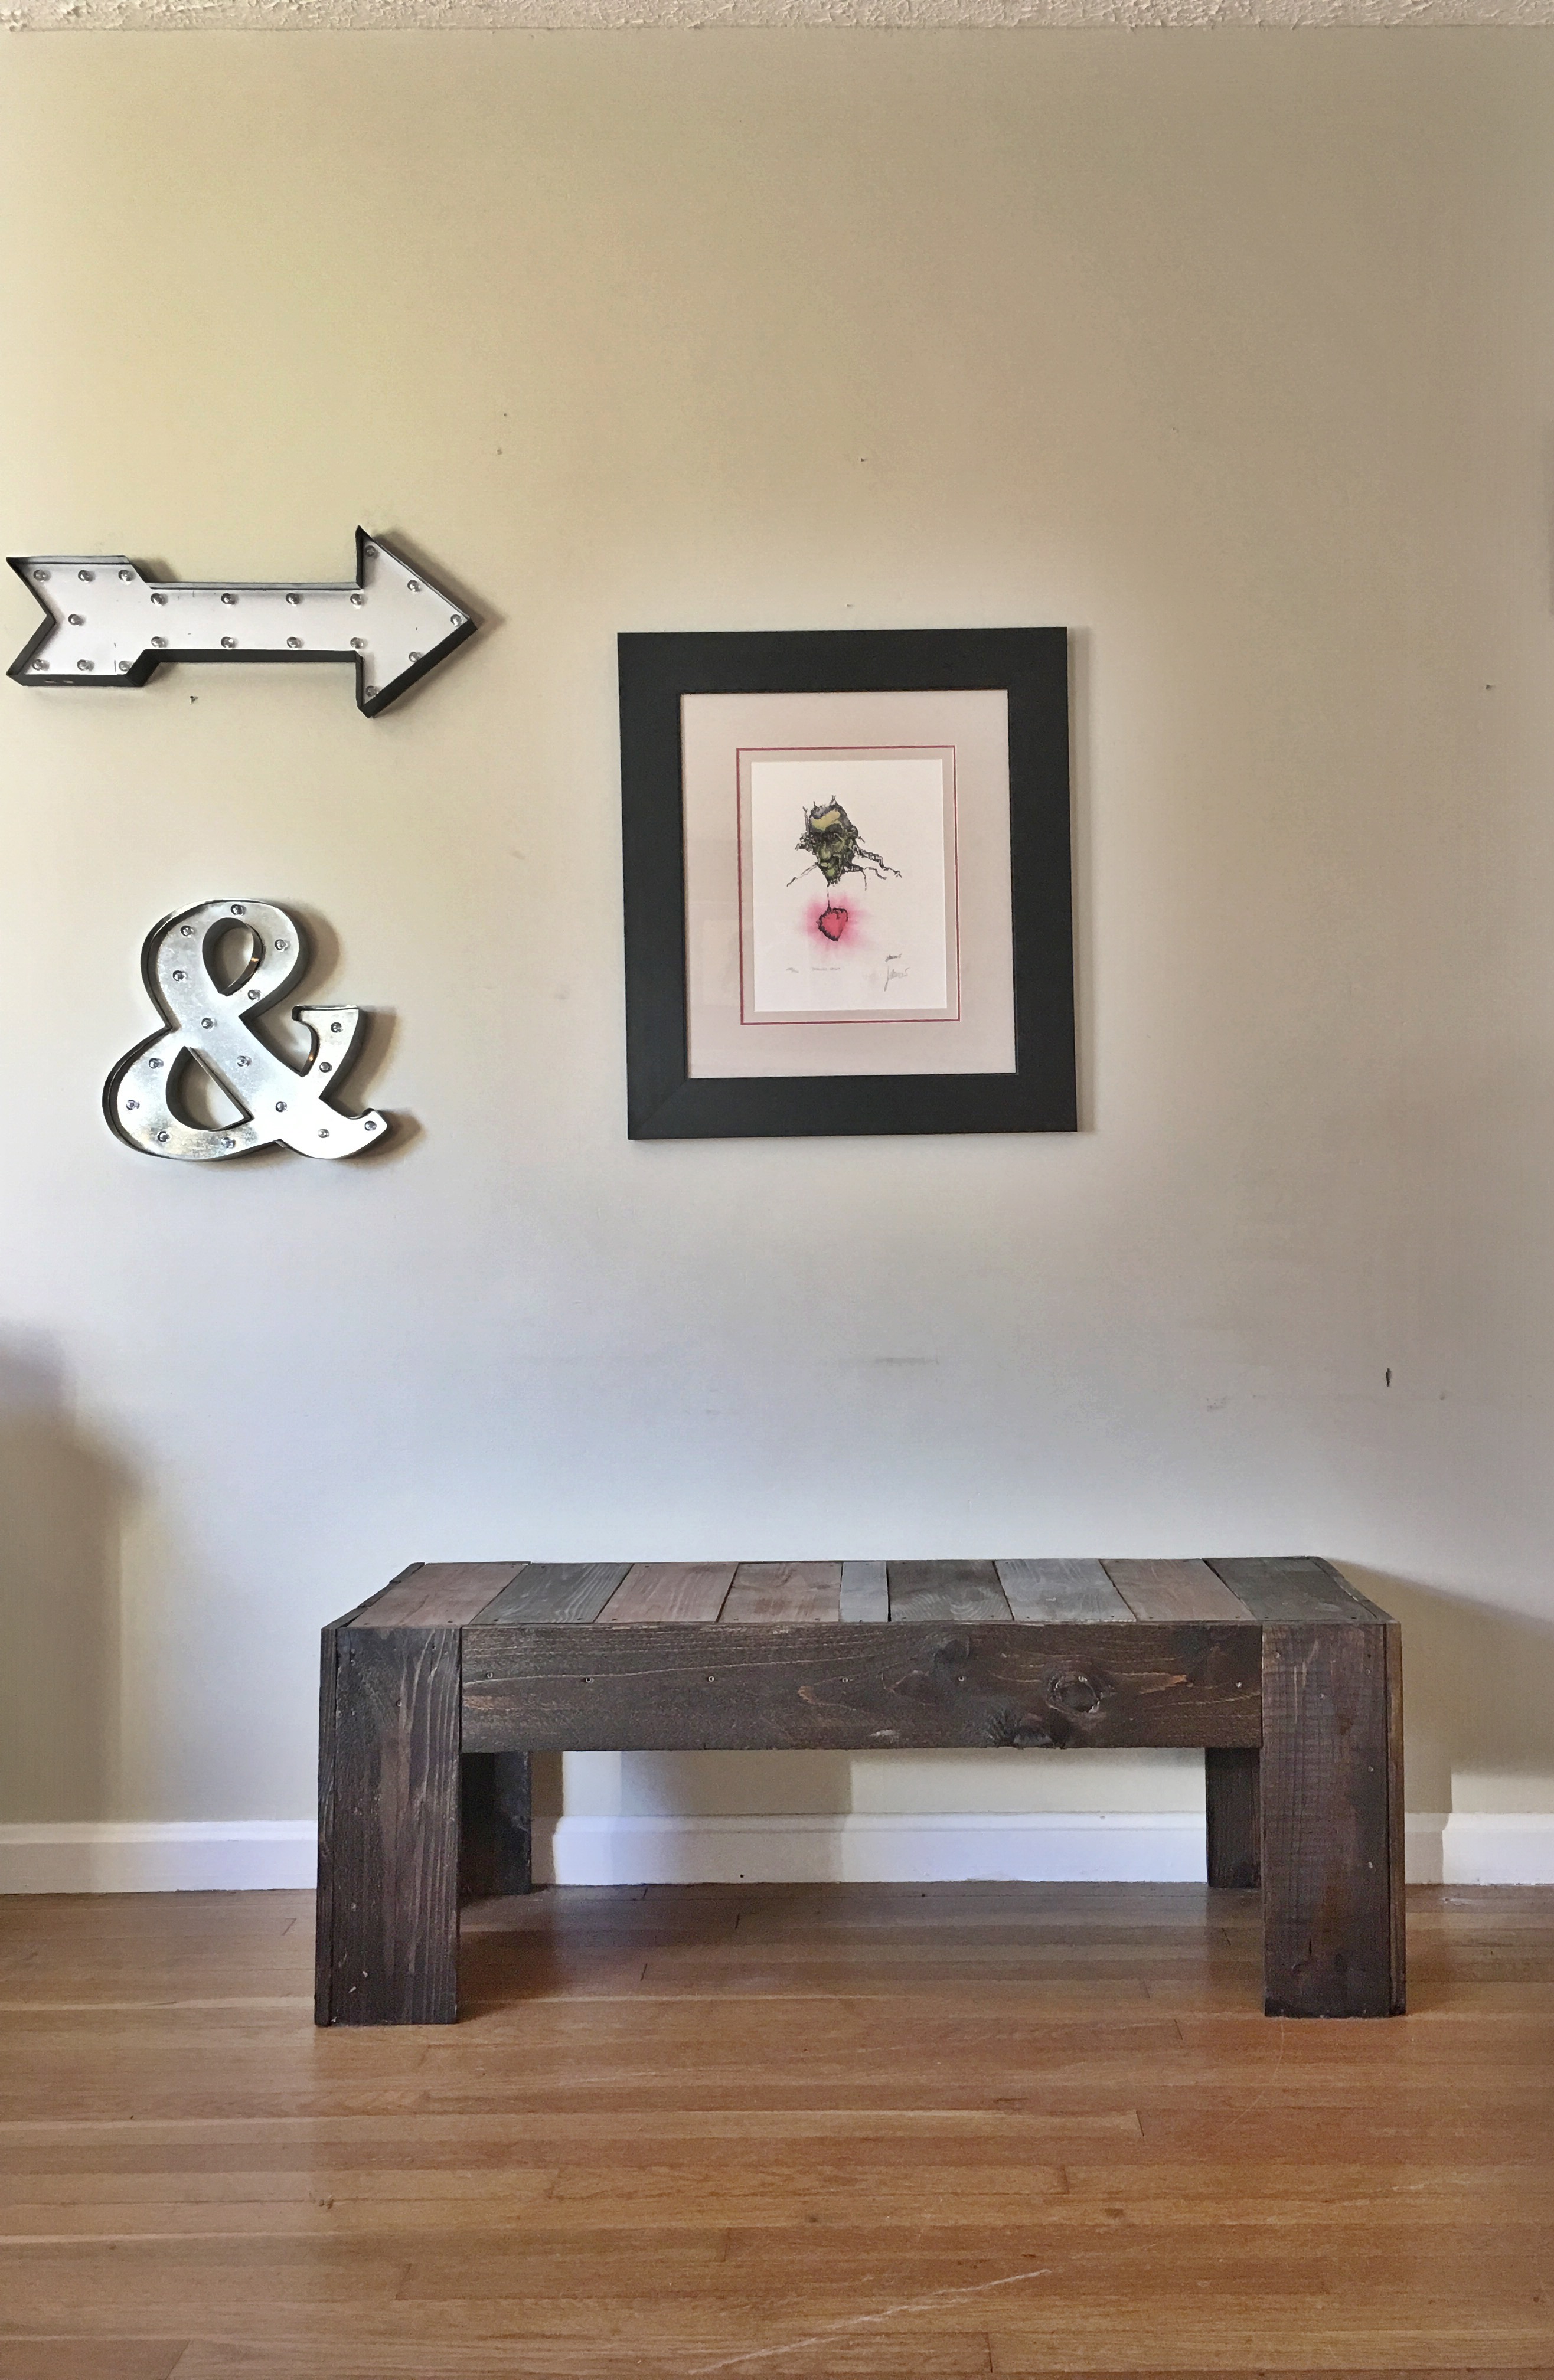
Enjoy!

